
Kickstarting Workflow Automation with Shopify Flow: 3 Essential Flows
When you start automating with Shopify Flow, begin with three areas: notifications, tagging, and risk management. This article breaks down the first three flows you should build, with concrete, app-free setups you can implement directly in your Shopify admin.
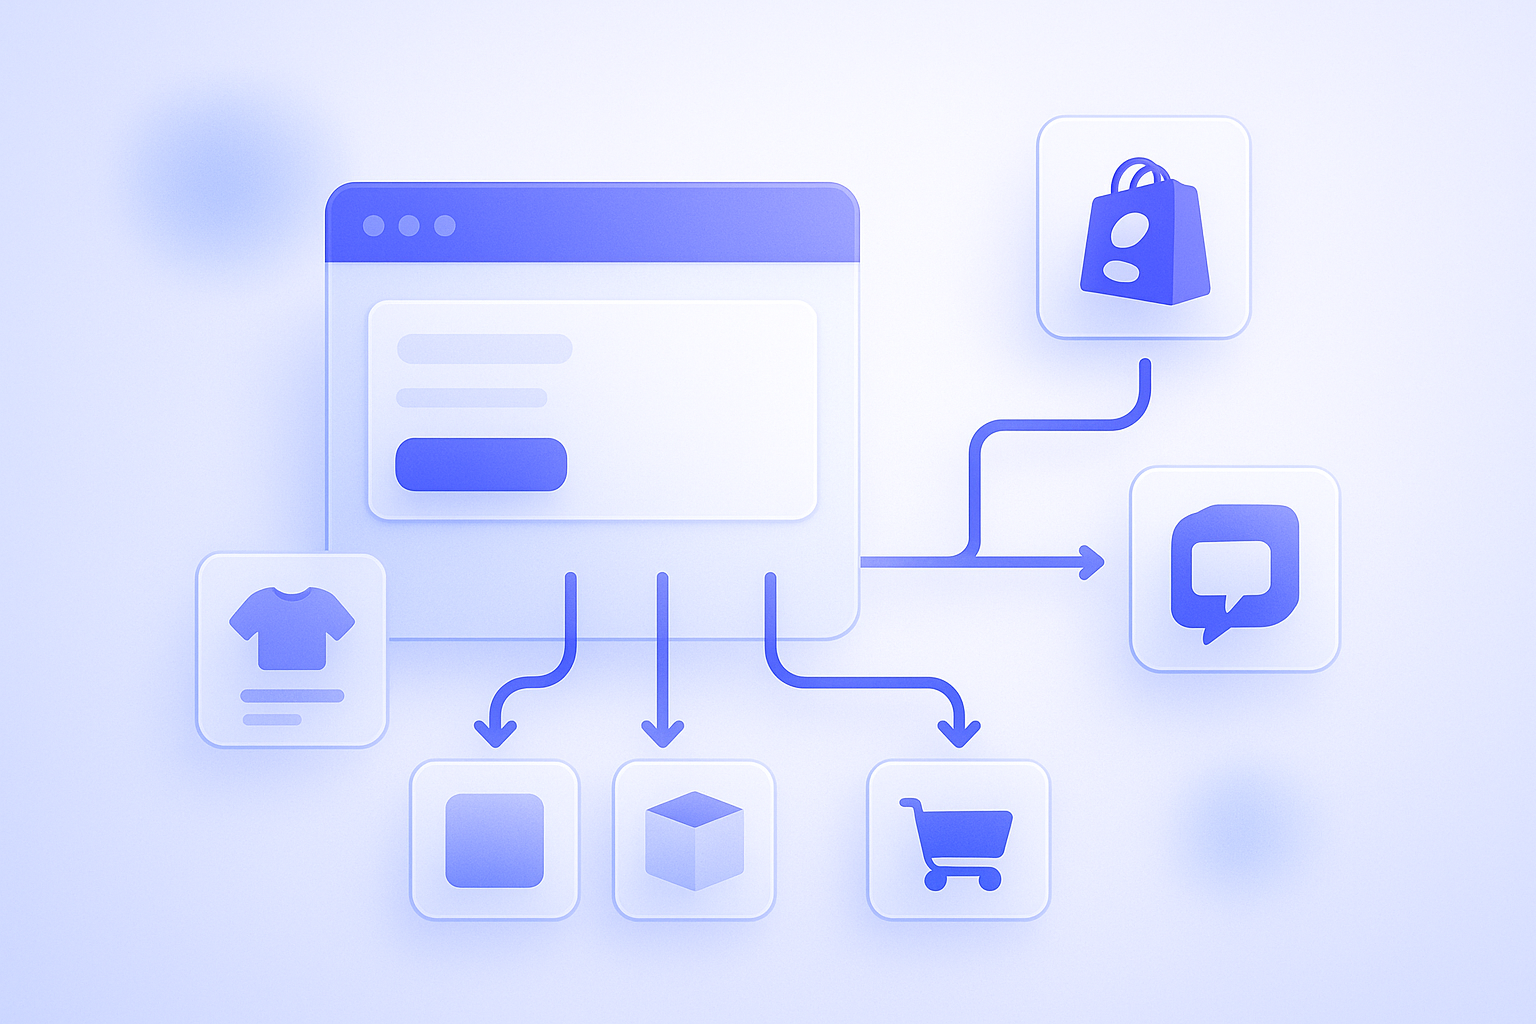
When you start automating work with Shopify Flow, the fastest route is to整理 your “everyday routine tasks” before trying anything advanced. Even just automating three areas—notifications, tagging, and risk management—can realistically cut 30–60 minutes of work per day. Once set up, Flow runs 24/7 without errors, so the more you carve out work that humans don’t need to do, the bigger the impact. This article walks through three flows you should build first in Shopify Flow, with concrete configuration examples. Jargon is kept to a minimum, and each flow is broken down so you can replicate it directly in your own store. Start by putting these three in place, then gradually extend and adapt them.
Before you start: what exactly can you automate with Shopify Flow?
In short, Shopify Flow lets you build “when X happens, automatically do Y” automations without writing code. It is an official app provided by Shopify, installed from the Shopify App Store and configured from your admin. No additional programming is required. As of 2024 it’s available on eligible plans such as Shopify, Shopify Advanced, and Shopify Plus.
Every Flow automation is built from three parts: trigger, condition, and action. For example, “Order created (trigger)” → “Is the order total 10,000 yen or more? (condition)” → “Add a VIP tag to the order and notify staff by email (action).” You can combine multiple branches and multiple actions within a single flow.
You can automate across a wide range of areas: orders, customers, products, inventory, payments, risk, and more. That said, there are things Flow cannot do on its own, such as automatically changing page design. To make design easier, focus on “back-office decisions you repeat over and over.” Automations that add tags, send notifications, or set flags—essentially one extra step that makes follow-up work easier—tend to deliver results quickly.
Flow 1: Automatically tag high-value orders and VIP customers

The first flow to set up is automatic tagging for high-value orders and VIP customers. Tagging directly drives downstream work, such as shipping priority, customer support handling, and email segmentation, yet it’s highly prone to errors and misses when done manually. If your store has 50 or more orders a day, manual tagging simply doesn’t scale.
A classic failure pattern is exporting a “VIP customer list” once a month and updating it by hand. That approach means your list is always 1–30 days out of date. For instance, a brand-new customer who spent 100,000 yen yesterday may still be treated as a “regular customer” by support today. With Flow you can tag VIPs immediately after purchase, making it easier for all staff to respond based on a unified standard.
Here is a rough structure to aim for.
- Trigger: Order created
- Condition 1: Order total is at least XX yen
- Action A: Add a “high-value” tag to the order
- Action B: Add a “VIP” tag to the customer
This lets you automatically flag “customers who have placed at least one high-value order” as targets for nurturing, and pick out only the orders tagged “high-value” at the time of fulfillment. Adjust the tag names and amount thresholds to fit your store’s price range.
Flow 2: Automatic alerts for low inventory items
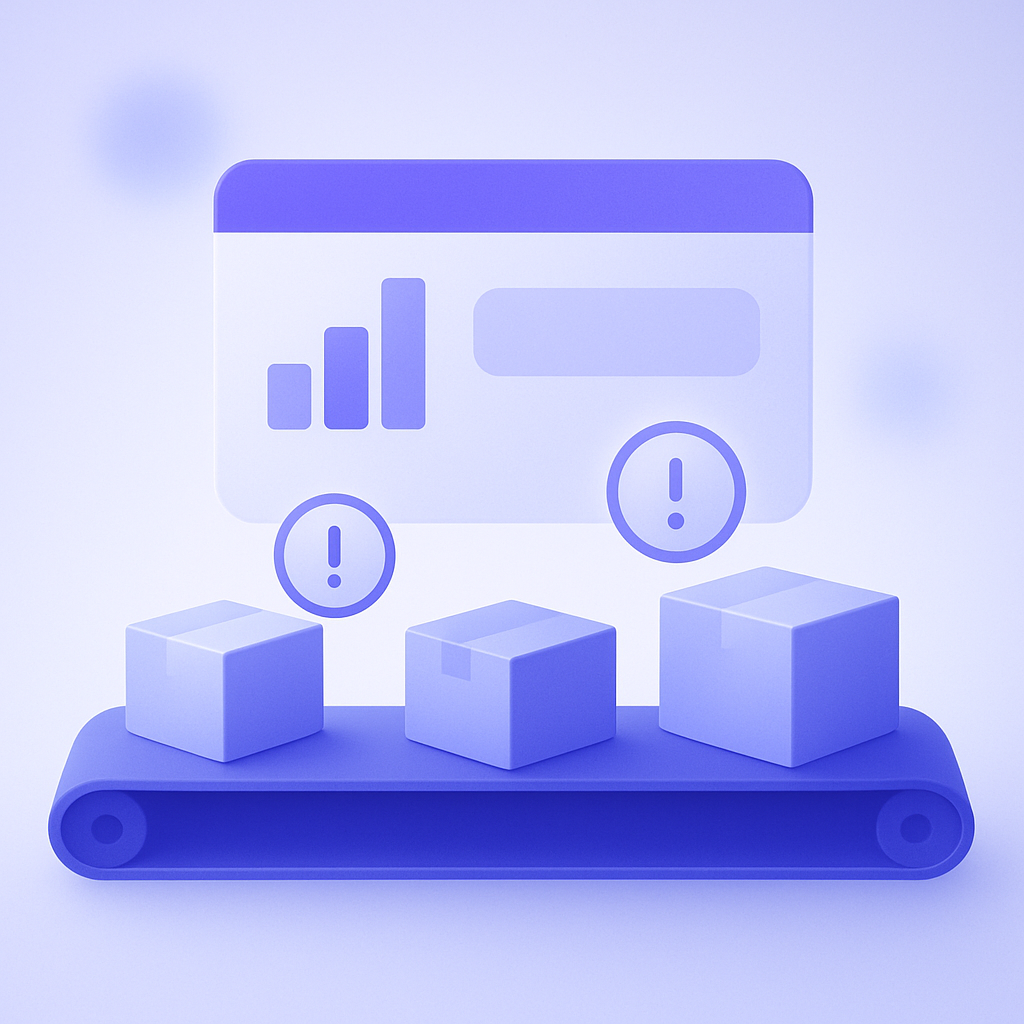
The next high-impact area is automated inventory alerts. The more SKUs you have, the more often you run into “we only noticed after it went out of stock” or “lost revenue because a popular item was sold out.” Many operators manually scan inventory reports every morning, but once you have hundreds of SKUs, misses are inevitable.
With Flow, you can build a flow that “notifies staff when inventory drops below a certain level.” This can dramatically cut daily manual checks. For example, if you send a Slack or email notification when stock falls below five units, you can focus your replenishment decisions on bestsellers.
The structure might look like this:
- Trigger: Inventory quantity changed (standard Shopify Flow trigger)
- Condition 1: Inventory quantity is XX units or less
- Condition 2: Product type or collection is “regular product” (use this to exclude limited editions, etc.)
- Action: Email the staff address with the product name, variant name, and current stock quantity
A common mistake is setting the threshold too low, so that by the time the alert fires you are already on the verge of a stockout. It’s better to calculate your minimum stock level based on lead time (days from ordering to receipt) and average daily sales, and then use that number as your condition.
Flow 3: Automatic flags for high-risk orders
The third flow you should put in place is automatic flagging for high-risk orders. Shopify has built-in fraud analysis and automatically assigns risk levels such as low, medium, or high to each order. To make sure you never overlook those signals, it’s effective to hook them into Flow. Especially in smaller teams, busy periods can lead to accidentally shipping high-risk orders immediately, exposing you to chargebacks and return costs.
With Flow, you can “automatically pick out only high-risk orders and handle them in a separate lane.” For example, you can tag high-risk orders and exclude them from any automatic fulfillment process, or prompt the responsible staff member to perform a manual review. That way you do not have to manually eyeball every single order, but you can still guarantee that “only risky orders are always checked.”
A typical structure would be as follows.
- Trigger: Order created
- Condition 1: Order risk is High (based on Shopify’s fraud analysis result)
- Action A: Add a “risk-high” tag to the order
- Action B: Send a notification to the shipping担当者 by email or Slack
The key operational point is to make sure everyone on the team understands what each tag means. For example, set a clear rule such as “any order with the risk-high tag must be confirmed by phone before shipping.” Without explicit procedures, tags will pile up and the现场 will end up confused.
Design tips for Flow: start by limiting yourself to notifications and tags
When you first start using Flow, it is tempting to jump straight into advanced automations that directly impact revenue, such as “automatically adjust inventory” or “auto-apply discounts.” But if you immediately build complex flows, it becomes difficult to fully grasp missing conditions or unexpected behavior, and hard to trace causes when something goes wrong.
For the first one to two months, it is better to limit yourself to notifications and tagging. Even if you misconfigure conditions, these two types are unlikely to cause direct harm to revenue or customer experience, and they are easy to fix. For instance, if you get too many inventory alerts, just raise the threshold; if your fraud flags are overly strict and fire too often, loosen the conditions and observe the impact.
Also make full use of Flow’s test and pause features: always run test orders before going live, and keep every flow in a state where you can quickly switch it off if needed. As an operating rule, decide on a check process such as “whenever we add a new flow, we review the logs daily for the first week.” This helps you catch unexpected issues early.
How to leverage this with RecoBoost: connect recommendation tactics and Flow
Combining a recommendation app such as RecoBoost with Shopify Flow lets you further automate “who sees which recommendations.” For example, you can have Flow automatically tag “VIP customers” or “customers with long repeat intervals,” and then configure RecoBoost to change which products are recommended based on those tags. Or you can combine this with your inventory alert flow and define a rule such as “exclude low-stock products from recommendations.” That way you reduce the number of out-of-stock items shown in recommendations while still managing inventory turnover. Use Flow to整理 customer and order states, and RecoBoost to design “which products to suggest to which state of customer.” This combination improves recommendation accuracy without adding operational overhead.
In summary, the most practical way to start automating with Shopify Flow is to begin by mapping out your everyday routine tasks. If you first implement three flows—tagging high-value orders and VIP customers, inventory alerts, and automatic flags for suspicious orders—you will not only cut working time but also reduce variation in service quality. Start by designing flows limited to notifications and tagging, then gradually refine the conditions as you operate them.