Structuring Shopify inventory workflows and multi-location setups
If you lock in your Shopify inventory workflow early, you can avoid costly fixes later. This article lays out practical flows and key settings for single and multi-location setups using Shopify’s native inventory features.
Running Shopify with fuzzy inventory rules doesn’t just cause stockouts and product pauses. It also wastes ad spend and piles work onto customer support. If you decide upfront where you hold stock and when and by whom inventory numbers in the store are updated, you can prevent most issues. This article organizes inventory workflows from a single location up to multiple locations, assuming only Shopify’s native features. It’s written at a level that store managers and on-site staff can turn into operations tomorrow. Once you understand the overall picture of Shopify inventory management, fine-tune rules to fit your own store. The basics of multi-location operations in Shopify are also covered. As a bonus, at the end we share ideas for using RecoBoost to drive recommendations that react to inventory. The explanations follow Shopify’s official documentation while calling out practical pitfalls you’re likely to hit. The goal is to build a foundation that minimizes lost sales from inventory problems without hurting the customer experience. If you’re about to start operating Shopify in earnest, or you’re already struggling with inventory trouble, read while comparing against your own flow. Menu names from the Shopify admin are as of the time of writing; if Shopify changes specifications, make sure you also check the latest official help docs. The approach here is designed to work regardless of store size and does not assume any special external inventory system.
Conclusion: Decide inventory “locations” and “update timing” first
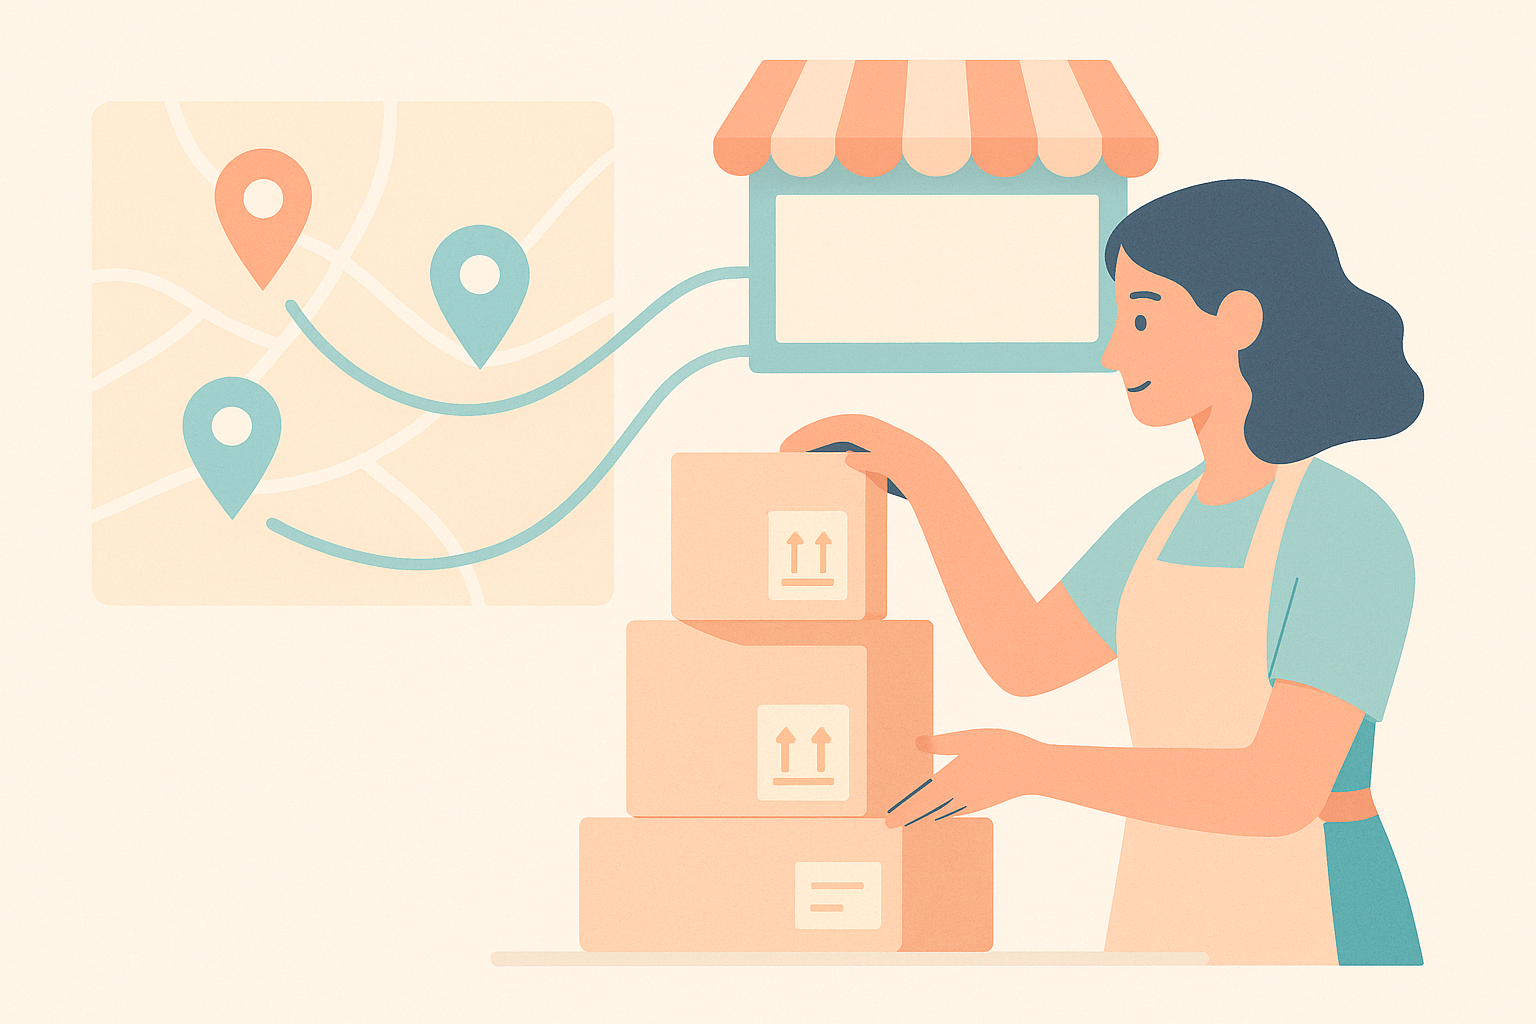
The core point to get clear first is this: in Shopify, everything in inventory management rests on deciding your locations and when inventory quantities are updated. If you start operating without nailing these down, you’re much more likely to end up with double entry of stock and shipping errors. On the flip side, simply deciding these two things in a straightforward way makes daily operations far more stable. In Shopify, inventory is managed per “location” and the sellable quantity is automatically reflected in the cart and checkout. You can add and edit locations from Settings > Locations in the admin, defining any physical or virtual place where stock is stored or sold, such as your online store, warehouses, or retail stores. Which location is allocated to an order is controlled via fulfillment priority settings.
The next critical piece is the rule for who changes inventory quantities, at what timing, and from which screen. A common failure pattern is when the receiving staff, the store manager, and customer support each change inventory on their own, and over time your physical stock drifts away from what Shopify displays. For example, you can reduce discrepancies dramatically just by deciding that only the person handling receiving updates quantities in Products > Inventory, and store staff generally do not touch inventory numbers directly. Limit inventory changes to moments when there is a real physical change in stock, such as receiving or returns, and handle sales logic like preorders or hiding products via separate settings (sales channels, product status). If you first decide your locations and update timing and only then map out detailed workflows, you end up with simple, consistent operations that are harder to break.
Before you start: understand Shopify’s basic inventory behavior
Before designing your workflow, it helps to briefly整理 how Shopify handles inventory. In Shopify you can manage SKUs per product variant (size, color, etc.) and set an inventory quantity for each one. If you enable inventory tracking, Shopify will automatically decrement stock with each order, and you can choose whether sales stop at zero or continue into negative stock. These are configured when you add a product or in the edit screen for an existing product. Registering SKUs and barcodes is useful when connecting to external inventory systems or barcode scanners.
The main inventory-related settings are configured by opening each product from Products > All products in the admin. If you check Track quantity, Shopify will automatically update inventory per location based on orders. If you also check Continue selling when out of stock, Shopify will keep accepting orders even when inventory goes below zero. This is commonly used for preorders and made-to-order products. However, if you don’t properly separate physical stock from the number you are willing to accept as orders, you run a real risk of falling behind on fulfillment.
In Shopify there are two separate concepts: inventory adjustments and fulfillment (processing orders). Inventory adjustments are operations that increase or decrease the actual stock numbers, done by changing quantities in Products > Inventory or in the edit screen for a product. Fulfillment is handled from Orders and controls which location an order’s stock is allocated from and when an order is marked as shipped. If you confuse these two, you can end up with orders marked as complete while inventory quantities never changed. In your operations, clearly separating the role that handles order processing from the role that makes inventory adjustments will reduce issues.
Single-location workflow basics: lock in operations with one location first
When a store first starts on Shopify, most merchants begin with a single location for the online store. At this stage, it’s best to keep inventory management as simple as possible. The basic idea is to limit stock to one physical holding place and limit the number of people who can adjust it. For example, if you run an ecommerce store that keeps inventory in a home office, you might create a single location called something like Main warehouse and manage all products there. By default, online store orders will allocate stock from this location.
Here is one example of a basic workflow in a single-location setup. First, when stock arrives, the responsible person counts the actual quantity against the packing slip and then bulk-adjusts inventory for those products from Products > Inventory in the Shopify admin. Next, when an order comes in, you check the contents from the Orders screen, then pick, pack, and ship, and mark the order as fulfilled at the moment of shipment. If a return comes in, you check the condition of the returned items and only increase inventory for items that can be resold. Even if different people handle receiving and returns, make sure everyone follows the same rule: whenever inventory is changed, leave a record. That makes it much easier to trace discrepancies later.
A common mistake in single-location operations is the habit of entering an inflated number at receiving “just to be safe.” For example, you receive 100 units but register 120 in Shopify. In the short term this might look like it prevents lost sales, but in reality you’ll be running campaigns and ads based on stock that doesn’t exist, increasing the risk that fulfillment cannot keep up. In Shopify you should lean on the setting that stops sales when inventory hits zero and run based on physical stock. If you’re worried about products selling out, consider options that don’t involve padding inventory, such as switching to preorder, clearly stating the next restock date in the product description or store announcements.
How to think about Shopify multi-location: locations and allocation rules
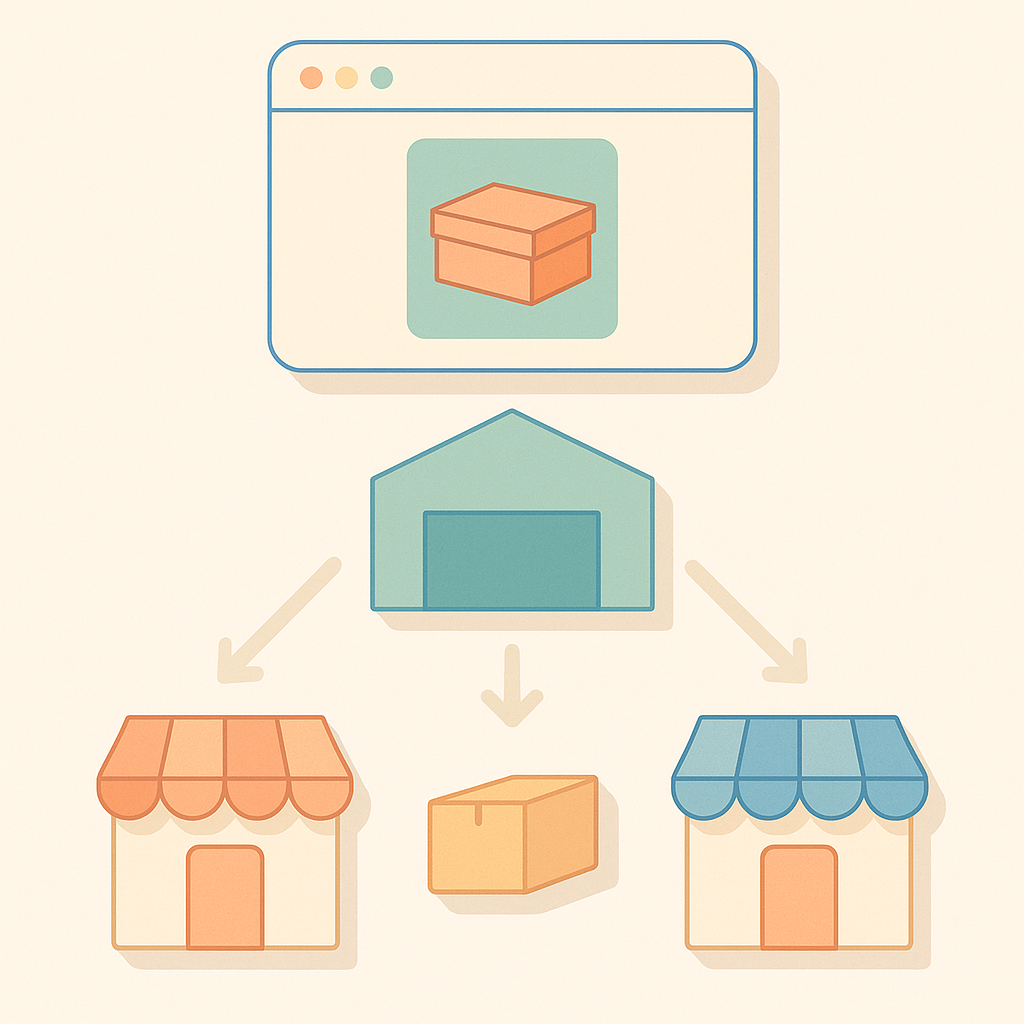
Once you add physical stores or separate warehouses, Shopify’s multi-location functionality becomes important. In Shopify you can add a location for each place where inventory is stored or sold, such as retail stores or warehouses. From Settings > Locations in the admin, add each site, then for each product decide whether that location will track inventory. For example, you might have three locations: Online warehouse, Store A, and Store B, and assign inventory quantities to each. At that point, you need a clear picture of how many units of each product variant live in each location.
The crux of multi-location operations is your rule for which location ships which orders. Shopify lets you set fulfillment priority per location so that when an online order comes in, the system automatically chooses which location to allocate from. For example, if you set Online warehouse as top priority and Store A as second, online orders will ship from the online warehouse as much as possible, only dipping into Store A’s inventory when needed. If you want to protect store stock instead, you can create an online-only location and avoid assigning store stock to the online sales channel at all.
A typical failure when adding locations is to casually enable inventory at every location so that it looks like every location holds stock, causing the total online-available inventory to greatly exceed your physical stock. For example, you might only have 100 units, but register 100 at Online warehouse and 50 at Store, making it look like you can sell 150. Of course you can’t actually ship that many, and you’ll eventually face a wave of stockouts and cancellations. When you introduce multiple locations, always start with an initial inventory allocation that you reconcile against physical stock, and decide in advance how you will record ongoing transfers between locations. Even if you handle transfers by manually adjusting quantities, you can avoid confusion by deciding the order and ownership of steps, such as always decreasing at the origin first and then increasing at the destination, with a named responsible person for each.
Practical workflows: where inventory is updated for receiving, orders, and returns
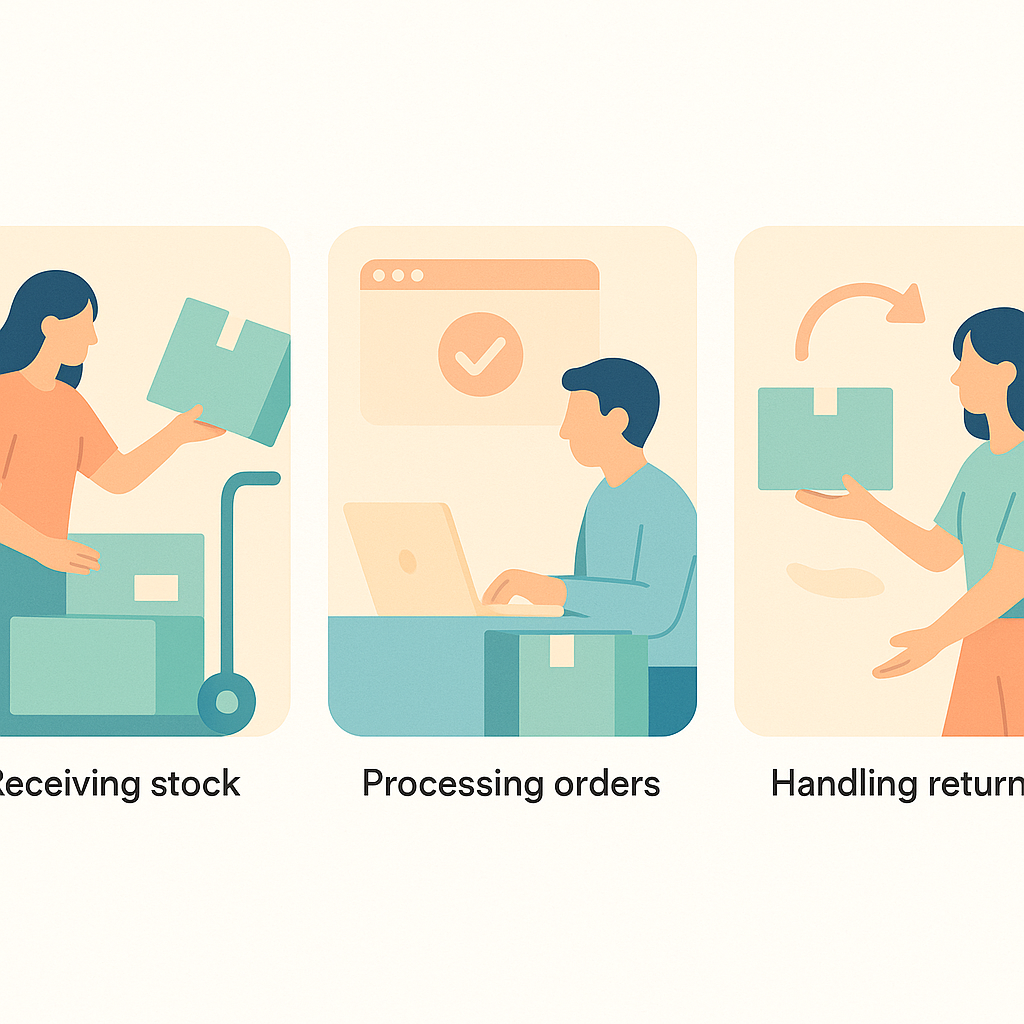
From here, we’ll整理 the main inventory update points that apply to both single- and multi-location setups in day-to-day work. The three core events are receiving, order processing, and returns/cancellations. At receiving, check quantities by comparing the packing slip with the physical goods, then increase inventory for the relevant location from Products > Inventory. Even if you have multiple locations, only increase stock at the location where inventory physically arrived; if you later transfer stock to another location, adjust quantities when the transfer is actually complete. Record receiving date, responsible person, lot number, and similar info in a spreadsheet or inventory log so it’s easier to trace the cause when discrepancies arise later.
Next is order processing. In Shopify, when an order is confirmed, stock is allocated from the location assigned to that order. If inventory tracking is enabled, decreases from orders are handled automatically. Operationally, the key is to check that there is no mismatch between order details and inventory behavior. For example, you want to confirm that products that should ship from the online warehouse are not being incorrectly allocated from a store location due to a configuration mistake. If something feels off, review your fulfillment priority and each product’s location assignments. Order-processing staff usually don’t need to change inventory directly, but for exceptions like cancellations or changes, it helps to have a checklist to make sure stock has correctly been put back.
Returns and cancellations are where inventory discrepancies most commonly occur. Once a returned product comes back, first decide whether it can be resold, and only increase inventory for items that pass that check. For items that cannot be resold, do not increase inventory; instead, handle them through a separate flow such as disposal or “imperfect” clearance. For cancellations, always confirm that inventory has been restored when you update the order status. This is especially important for partial cancellations or partial refunds, where only specific items need to be returned to stock. If you skip this, your displayed inventory will keep creeping up, drifting far from physical stock. Even for small shops, building a rhythm such as checking for inventory discrepancies once a week helps keep things stable.
Preparing for stockouts and preorders: what you can do with Shopify’s native features
The goal of inventory management is not just making the numbers line up. You also need to prevent lost sales from stockouts while keeping your promises to customers, such as delivery dates. In Shopify, if you configure products to automatically stop selling when inventory hits zero, you can prevent orders from being placed for products that don’t physically exist. On the other hand, you can intentionally enable the setting to continue selling when out of stock and run products as preorders or made-to-order. In that case you must clearly state lead times or planned shipping dates on the product page and make sure customer support has the same information.
A very effective measure against stockouts is to use low-stock alerts in your operations. With Shopify’s standard features, sophisticated alerts like automatic emails are limited, but you can still use inventory reports or exports to periodically review a list of products below a certain threshold. For example, you might check all products with five or fewer units once a week and share a consolidated list of items that need replenishment with your purchasing team. If you run both physical stores and an online store, decide in advance which channel to prioritize; that way, decisions when stock is low won’t vary from case to case.
A common failure pattern in preorder operations is when the expected arrival date changes but the product page and announcements are not updated in time. This leads to a surge in “Where is my order?” inquiries and rising support costs. To reduce this risk, explicitly define a rule such as: whenever the expected arrival date changes, update the product page first. Also ensure tight coordination between inventory/purchasing and whoever updates the site. In Shopify you can manage expected arrival information using product descriptions or metafields. Even within the standard feature set, make sure you can clearly communicate by when you will ship; this makes it much easier to prevent drops in customer satisfaction.
Using RecoBoost: building recommendation logic that reacts to inventory
Once your inventory workflows are in good shape, the next challenge is how to feed inventory状況 into your sales strategy. The same applies when you use a recommendation app like RecoBoost: the prerequisite is running on top of the inventory rules整理ed in this article. For example, you might deliberately lower the recommendation priority of low-stock products, and instead prioritize products with plenty of stock or products with inventory spread across multiple locations. Or, if inventory is skewed across locations, you can push products from locations with ample stock, making it easier to normalize inventory levels before discounting. With RecoBoost you can build recommendation logic that takes inventory quantity into account, allowing you to balance what you want to sell with what is likely to sell while keeping stockout risk low. First get Shopify’s native inventory management in order, then think about how to turn that inventory information into promotion.
Before adding complex tools, Shopify inventory management starts with simply deciding your locations and when inventory is updated. First solidify a basic flow with a single location, then when you expand to multiple locations, layer on rules using the same principles. There is a lot you can already do within Shopify’s standard features to prevent stockouts and manage preorders. Start by writing out your current in-house flow and comparing it against the points in this article to see where there is waste, inconsistency, or unnecessary complexity.