Non‑Engineer Store Owners’ Guide to Shopify Theme Customization
Even if you are not an engineer, you can safely customize your Shopify theme by knowing what you can edit and how to protect yourself. This guide organizes practical steps from no‑code settings to basic Liquid concepts and backup methods you can use in day‑to‑day operations.
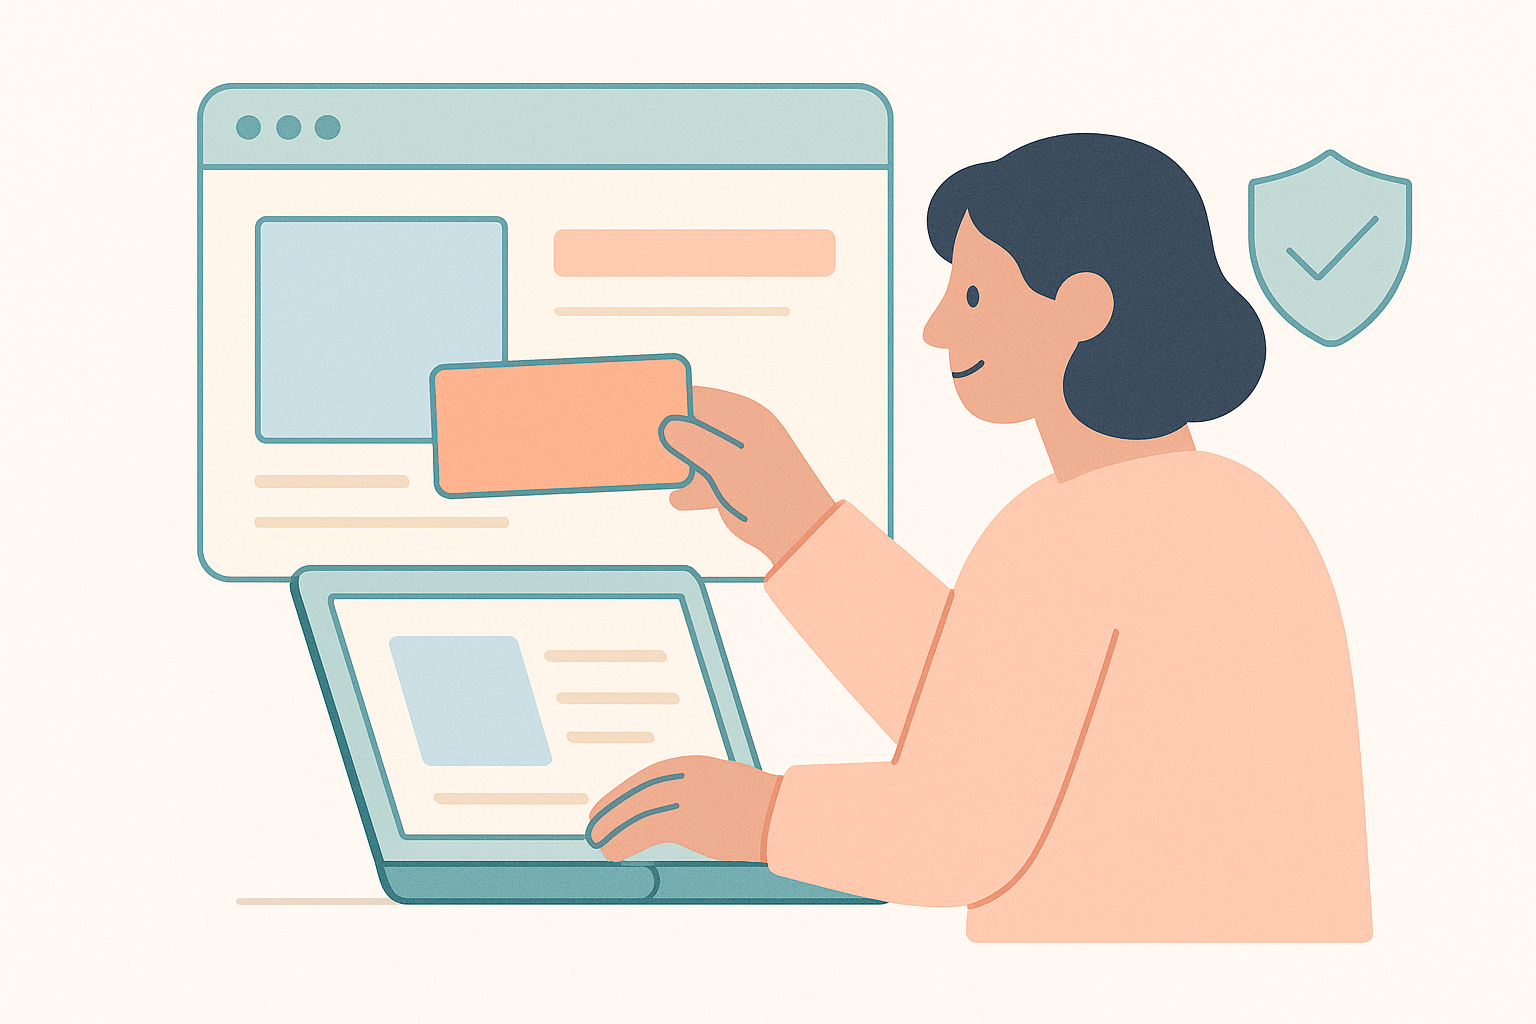
Put simply, as long as you separate the parts you can safely touch from the parts you should leave alone, you can customize a Shopify theme just fine without being an engineer. Since Online Store 2.0, the theme editor can do much more, so even without writing Liquid directly you can change the information architecture of your home and product pages in quite a lot of detail.
At the same time, it is common to see mistakes like “I tweaked a bit of code and the layout broke” or “I edited the live theme and could not roll back.” This article narrows the scope to what non‑engineers can safely ship on the front line, and organizes how to get started with theme customization plus the bare‑minimum points to know when you start touching Liquid.
First, fully exploit what you can do in the theme editor
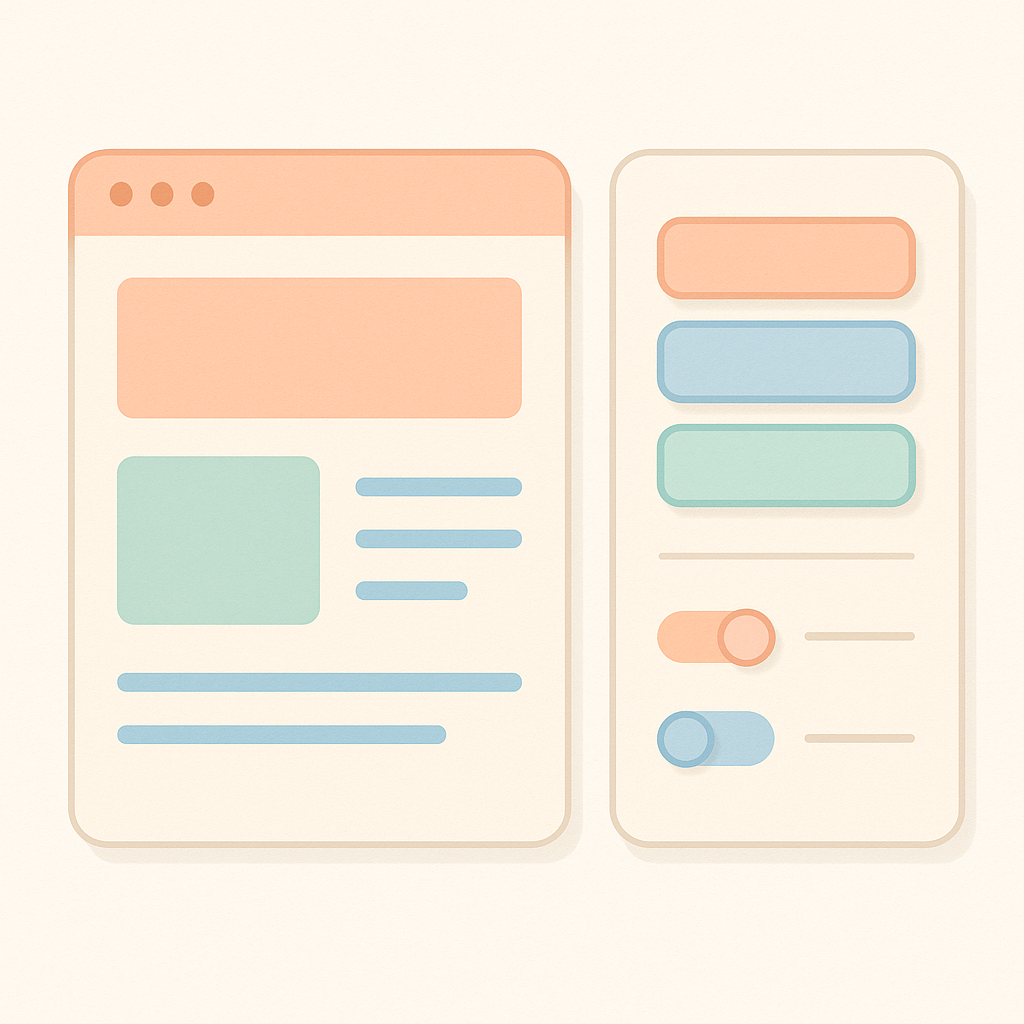
In Shopify’s native theme editor screen (Online Store > Themes > Customize), you can make many changes without writing code. With Online Store 2.0 compatible themes released since 2021, you can add sections to almost every page, so most requests like “I want to add a banner” or “I want to insert featured products” can be handled entirely in the theme editor.
There are three operations non‑engineers should learn first. The first is adding, deleting, and reordering sections. By adding a “Featured products” section under the hero banner on the home page, or deleting unnecessary text blocks, you can change the priority of information on the page.
The second is editing blocks inside a section. For example, within a “Recommended products” section, you can swap out which products are shown and change the heading text. Fine‑tuning just this area can often change CVR. The third is assigning templates. By selecting the right template for each collection or product, you can, for instance, use a different design only for sale items.
Whenever you use the theme editor, always check both desktop and mobile previews. A layout that looks fine on desktop may have unreadable text on banner images when viewed on a phone. To avoid this, establish a team rule: before saving any edit, preview it on mobile.
Three safety measures you must take before editing
Before you touch a theme, make it a hard rule to never edit the live theme directly. Shopify’s official docs also recommend duplicating the theme before editing. In real operations, it is very possible that someone edits the live theme in a rush and ends up breaking the layout right before a weekend sale.
Concretely, go to Online Store > Themes, click the … button on the live theme, and choose Duplicate. Name the duplicated theme something like “Development” or “Staging” and edit that copy first. When you are done, preview thoroughly, and if everything looks good, switch it live with Actions > Publish.
On top of that, the following two are also effective as minimum safety measures. First, export theme settings. Some themes let you export and import settings; if yours does, save the current settings to your computer. Second, prepare a “pre‑publish checklist.”
- Have you checked these four screens on both desktop and mobile: home page, product page, cart, and checkout?
- Are there any broken links along the main path (Home > Product > Cart > Checkout)?
- Are all key apps (reviews, recommendations, chat, etc.) displaying correctly?
Simply sharing these three checklist items will dramatically cut human errors like “the cart button disappeared” or “only certain product pages had broken layouts.”
What you can and cannot change via Theme settings
For theme customization, it becomes easier to decide what to do if you clearly separate “things you can change in settings” from “things you can change only by editing code.” Shopify themes have global settings accessible from the Theme settings tab on the right of the theme editor, and many design elements can be adjusted there.
In general, Theme settings let you change global elements such as fonts, colors, button border radius, form language, and header menu behavior. For example, if you want to update your brand color, starting with the Colors section in Theme settings will often switch button and link colors all at once.
On the other hand, requirements like “show a countdown timer only for this product” or “use a different product card layout only for this collection” cannot usually be handled with standard settings alone. Only in cases like these should you start considering targeted edits to Liquid or CSS, which helps avoid unnecessary custom development.
If you are unsure whether “this can be done with settings or needs code,” first read through the theme’s official documentation and all the settings screens. If it still looks hard, simplify the requirement as much as possible and then consult an external partner; that approach usually keeps long‑term maintenance costs down.
Liquid essentials non‑engineers should learn first
Liquid is the template language Shopify uses to switch what is displayed in a theme dynamically. As a non‑engineer store manager, you do not need to be able to write Liquid from scratch, but knowing what role it plays and which parts are risky to touch will make communication with developers and handling issues much smoother.
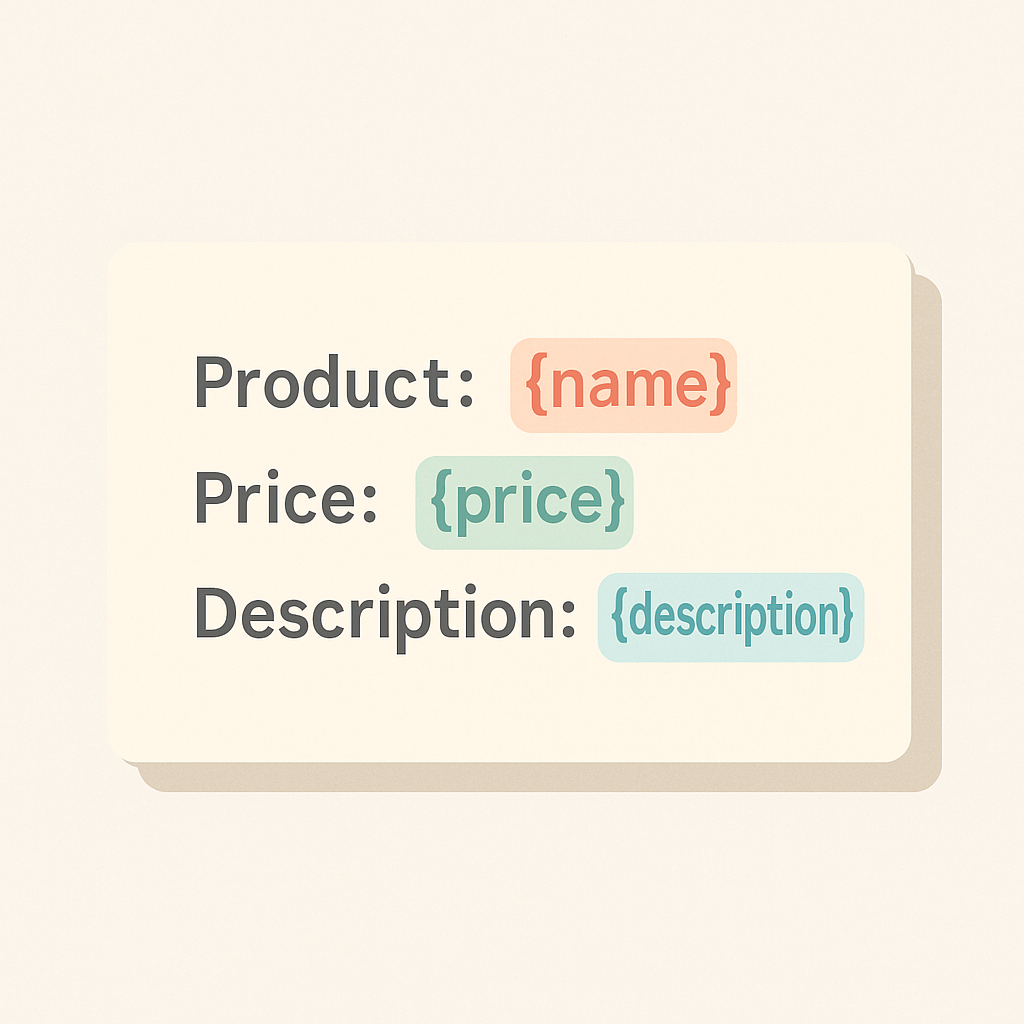
Liquid’s basic role is to insert Shopify data such as product titles, prices, and inventory into templates. For example, in a product page template, Liquid is embedded where the product title appears, with instructions like “display {{ product.title }} in this spot.” If you change what is inside the double curly braces, the output changes, but if you get it wrong the data may not appear at all.
What non‑engineers most often run into in practice are text additions and simple conditionals. A requirement like “only show ‘Only a few left’ when stock is low” is written as a Liquid conditional. If you casually delete code like this, all stock messages can disappear. So whenever you edit Liquid, make it standard practice to duplicate the theme before deleting even a single line, and comment out the original code instead of removing it outright.
When you start learning Liquid, rely first on Shopify’s official Liquid reference and theme development tutorials, and avoid copy‑pasting random code snippets from the web. Syntax can vary by version and theme. At the beginning, only touch code that you can describe in your own words, such as “which data is being shown, where, and under what condition”; that alone will greatly reduce accidents.
Theme edits you should not do, learned from failure cases
Theme customization failures are more often caused by process issues than technical difficulty. A classic case is editing the live theme and causing layout issues while the store is open. For example, planning to replace a sale banner right before a promotion, but accidentally deleting the entire section so the home page is almost blank—this sort of incident is not rare.
Another common issue is losing your customizations when updating a theme. Shopify themes sometimes get updates, but when you switch to a new version, the code you customized in the old one is not always carried over automatically. You can end up with a nicer base design but lose your custom banners or messages.
To prevent this, keep at least a simple record of which parts of which files you edited. Even just jotting down the file names you opened under Online Store > Themes > Edit code and the purpose of each edit in a spreadsheet will make a big difference when you come back six months later to update the theme.
Also, avoid bundling many changes into a single edit. If you “fix the header and also change product page layouts” in one go, it becomes hard to pinpoint which change caused a bug. Instead, duplicate the theme for each single objective, make that one set of edits, confirm there are no issues, and only then move on to the next change; this step‑by‑step workflow ends up saving time overall.
How to leverage this with RecoBoost: designing themes around recommendation slots
When you use a recommendation app like RecoBoost, you will see better results if, during theme customization, you decide where and what type of recommendations you will place. For example, if you reserve a section under the Add to cart button on product pages to show related items, you can simply drop a RecoBoost widget there and naturally build in an upsell path. On the home page, you can maximize the app’s impact by placing popular‑items recommendations not right under the first view but after featured content, adjusting section order in the theme editor. When you roll out RecoBoost, first test a layout with recommendation slots on a duplicated theme, and validate it starting from your highest‑traffic pages before going live; this lets you improve performance without risking a revenue drop.
Summary
Even if you are not an engineer, as long as you start from the theme editor, separate what can be changed with settings from what requires Liquid, and follow safe pre‑edit checks and careful procedures, you can operate Shopify theme customization effectively in day‑to‑day work. Begin with small changes and stick to the rule of always testing on a duplicated theme first—that is the fastest path to stable operations.