
Practical migration steps for Shopify Checkout Extensibility
If your store can move to Shopify Checkout Extensibility, it’s safest to start now. This article clarifies how it differs from checkout.liquid and walks through concrete, low-jargon steps to migrate your checkout safely while protecting conversions.

To start with the bottom line: if your store is eligible to move to Checkout Extensibility (the new checkout customization method), it is safer to begin preparing as soon as possible. The reason is that most of what you could do with the old checkout.liquid can now be covered in the new model, and all new features will be built on Extensibility. Treat this as a planned task you slot in between catalog updates and sales campaigns, not as a vague “we’ll do it someday” item.
This article整理s where Shopify Checkout Extensibility stands now, including how it differs from the legacy checkout, and explains in what order to review and implement changes in practical steps with minimal jargon. At the end, there is also a short note on how the recommendation app RecoBoost can take advantage of the new checkout extensions.
What Shopify Checkout Extensibility is: 3 key things to know first
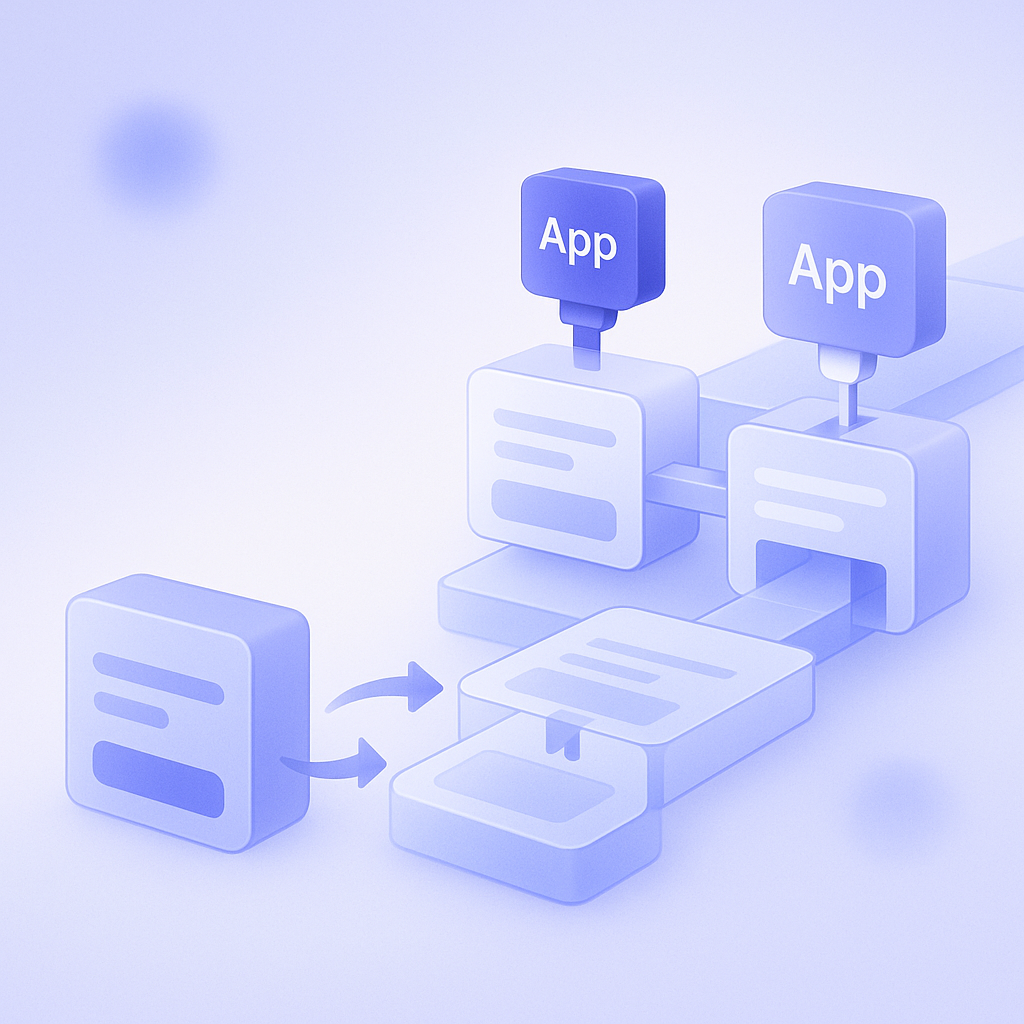
Checkout Extensibility is a new framework for safely extending the Shopify checkout using apps. Instead of directly editing a template file called checkout.liquid, you work with a model that’s closer to “placing app-provided blocks and UI parts via drag-and-drop in the admin.”
There are three main points to understand.
- You can change the look and feel and wording of checkout from a visual editor similar to the theme editor, instead of writing code.
- Because extensions are done through apps, you customize within a safe sandbox that Shopify provides.
- Future features, such as deeper app integrations inside checkout, will be built on top of this Extensibility model.
The second point is especially important. In the checkout.liquid era, you could write JavaScript and CSS directly, but that always carried the risk of “unexpectedly breaking checkout” or “behavior changing when the theme is updated.” Checkout Extensibility deliberately trades some of that freedom for a design that prioritizes checkout and payment stability.
How it differs from the legacy checkout (checkout.liquid)
The big differences between the old checkout customizations and Checkout Extensibility are how much you can freely change and how much you can do entirely from the admin. With the old approach, you edited checkout.liquid in the theme code and added HTML and JavaScript, which allowed very flexible customizations. On the other hand, it made you heavily dependent on developers and required code changes for every tweak.
With Checkout Extensibility, checkout layout and extra elements are handled as “blocks placed from a settings screen.” You can add things like extra explanatory text, logo images, simple banners, or consent text with checkboxes without touching code. More advanced features—upsells, surveys, gift messages, and so on—are provided as “UI extensions (checkout UI)” by apps and added from a theme-editor-like screen.
On the other hand, common patterns from the legacy approach cannot currently be reproduced as-is, or require a different implementation.
- Heavily rewriting the underlying HTML structure of the checkout page
- Replacing the JavaScript that runs across the entire checkout page
- Embedding complex tracking code directly into checkout
If you start migrating without整理ing “what exactly your current checkout is doing,” you are likely to run into a wall where “this customization cannot be reproduced.” This is especially true for stores with many historical checkout customizations built by external vendors—thorough discovery work upfront becomes critical.
Checklist to confirm whether your store needs to migrate
First, confirm which checkout customization method your store is using. In the Shopify admin, open the theme code. If you see checkout.liquid under Templates, it is highly likely that legacy customizations are in place. Even if it is not there, also check whether any apps or scripts are extending checkout behavior.
Next, quickly list whether the following elements exist on your checkout screen. You do not need specialist knowledge for this—treat it like a checklist you go through while looking at the screen.
- Additional copy or explanation boxes that are not part of the standard checkout (for example, a note about a specific payment method)
- Brand logos or banner images placed in positions other than the header
- Chat widgets, tracking, A/B testing, or other external scripts running in checkout
- Extra input fields such as order notes or gift messages
- Upsell or cross-sell elements (related product suggestions) shown inside checkout
For example, one apparel store had an upsell script written directly into checkout.liquid from a past project, and the current owner had no idea it existed. If you capture the checkout screen across multiple patterns before migration (guest vs member checkout, mobile vs desktop), you are less likely to miss elements whose disappearance would cause issues.
If you are on Shopify Plus, also review the checkout-related customization settings under Settings > Customizations, not just the checkout itself. Plus-only features are often combined with app-based extensions, and understanding where the standard experience ends and custom logic begins will make migration planning easier.
A realistic step-by-step migration plan (assuming 3–4 weeks)

For a mid-sized store, a realistic target is three to four weeks of actual work, following the steps below to reduce operational strain. The two key points are “do not rewrite production all at once” and “move features over one by one.”
Step 1: Document your current checkout. Capture screenshots of each step of the purchase flow on both desktop and mobile. If the display changes by payment method—for example, a warning only shown for cash on delivery—capture those patterns as well. This gives you a complete list of which elements need to be reproduced in the new model.
Step 2: Categorize the elements you need. Group them into three buckets: “elements with strong impact on revenue (for example, copy that builds trust, messaging about specific payment methods),” “brand expression (logos, colors, banners),” and “nice-to-have elements (short messages, etc.).” For instance, one food store removed a notice about frozen-shipping conditions and saw inquiries double. Elements like that should be prioritized when recreating checkout under Extensibility.
Step 3: Enable Checkout Extensibility in a test environment and align the basic look and feel. From the Shopify admin, open the checkout customization screen and, in the new checkout editor, set your logo, colors, and simple text blocks. At this stage, focus only on “visuals” and “essential explanations” and leave complex features for later.
Step 4: Add app-based UI extensions (checkout UI) one by one. For surveys, gift messages, upsells, and other app-provided blocks, add each function individually and place test orders. If you install multiple apps at once, it becomes hard to tell which one is causing layout issues or errors. In practice, a pace like “introduce and verify one feature per week” tends to be manageable for in-house teams.
Common migration failures and how to avoid them
The most common failure patterns on real projects are either “trying to perfectly reproduce everything and running out of time” or “migrating only the minimum and forgetting elements that serve an important role.” In some cases, teams are so attached to every past experiment that they cannot drop any customization, and the migration stalls for six months or more.
You can reduce this risk by agreeing on a few rules in advance.
- Always migrate initiatives that directly affect revenue, conversion rate, or inquiry volume.
- For each feature, decide whether to “keep,” “drop,” or “review later.” Once you decide to drop something, just保存 a screenshot and move on.
- For two weeks after launch, check CVR and payment errors daily, and make sure you can quickly disable any feature that looks likely to be causing problems.
For example, one D2C brand had three banners and two surveys on checkout. By deciding to “limit banners to one” and “move surveys to post-purchase emails,” they cut the migration workload by more than half. As a result, they completed the switch to Checkout Extensibility in three weeks and have operated since with virtually no change in CVR.
It is also safer not to run A/B tests on checkout immediately after migration. If you start tests at the exact moment when the structure has changed, the impact of “switching to Extensibility” and the impact of your “A/B test variation” get mixed, making it hard to judge which one moved the numbers. Prioritize stable operation first, then restart A/B testing afterward.
How to use RecoBoost: recommendation design around checkout
RecoBoost currently provides AI recommendations mainly on product pages, in the cart, and on post-purchase pages. When you work on Checkout Extensibility migration, it is important not only to decide “what to show in the checkout itself,” but also to design recommendations for “immediately before and after checkout” as a set. For example, you could use RecoBoost to show upsells in the cart to raise AOV and recommendations on the order confirmation page to drive the next purchase, while keeping the checkout screen itself focused purely on payment. This makes it easier to balance the safety of Checkout Extensibility with the revenue lift from RecoBoost.
To sum up, migrating to Shopify Checkout Extensibility should not be treated as a project to “recreate every single thing from the old checkout,” but as a project to整理 only what you currently need and rebuild it in a safer, easier-to-operate form. If you follow the flow of auditing your current setup, prioritizing elements, recreating in a test environment, and rolling out to production in stages, in-house teams can manage it just fine. Start early and build a checkout foundation that will stand up well to future Shopify updates.