
A practical playbook for adding browsing-history recommendations to your homepage
A concise, practical checklist for placing browsing-history recommendations on your Shopify homepage. Covers placement, privacy, and what to show when there is no history, so you can implement it today.
What this playbook helps you do
Adding a “Recommended from your browsing history” section to your homepage gives each visitor a personalized path back into the store. They can instantly jump back to products they already looked at, which nudges them to reconsider adding to cart or completing a purchase.
Here is how to add a browsing‑history recommendation section to your Shopify store’s homepage,
- Where to place it
- How to handle privacy considerations
- How to design fallbacks for users with no browsing history
all distilled into steps you can start testing today.
Before you start: basics and caveats of browsing‑history recs
- What “browsing‑history recommendations” are: a recommendation section that shows products a user has viewed in the past, or similar items based on those views. It is often labeled “Recently viewed items” or “Items you looked at.”
- Which users are eligible: most apps use browser cookies, local storage, or session data to determine “past views in the same browser.” Even logged‑out users will typically have usable history for a certain period, as long as they are on the same browser.
- Balancing personalization with privacy: browsing history strongly reflects a person’s interests. Depending on your vertical (medical, healthcare, adult, etc.), you may want to avoid blunt wording or oversized displays. Choose labels and placement carefully so it does not feel intrusive.
- Technical assumptions: this guide assumes you can customize your theme, and that your recommendation app lets you enable a browsing‑history logic. If editing code is difficult, first check whether the app offers widgets you can add as blocks via drag‑and‑drop.
Step‑by‑step: adding browsing‑history recommendations to your homepage
- Open the theme editor in Shopify admin: in the admin, go to Online Store → Themes, then click Customize on the theme you are using.
- Review your homepage section structure: in the page selector at the top of the theme editor, open Home page. In the section list on the left, review the existing layout (hero, collection list, reviews, etc.). While looking at this, picture where you would like to insert browsing history.
- Add a section or block for browsing history: in the section list, click Add section or Add block inside an existing section, then select the browsing‑history or recently viewed products widget provided by your recommendation app. If the app name appears as a section, expand it and choose the appropriate logic.
- Set the label (heading): in the settings panel for the added section, set a clear title such as “Recently viewed items” or “Products you looked at.” For sensitive verticals, use softer labels like “Checked items” that do not emphasize “you” or “history” too strongly.
- Adjust the position: in the section list, drag the browsing‑history section to the desired location. For most stores, a standard pattern is just below the hero + key collection, or just below a popular items list. If you put it at the very top, it will not mean anything for new visitors, so place it just after the first view or around the middle of the page.
- Configure item count and layout: if the section settings let you choose how many products to show and whether to use a slider or grid, aim for about 8–12 products on desktop and 4–8 on mobile. Starting with a horizontal slider helps you show more products without the section feeling in the way.
- Configure fallbacks when there is no history: if the app has a setting like “When there is no browsing history, show X instead,” follow the fallback guidelines below and choose New arrivals, Bestsellers, or a featured collection. If your theme controls visibility, also check for an option such as “Hide this section when there are 0 products.”
- Check behavior in preview: open your storefront in another tab, view a few product detail pages, then reload the homepage and confirm the browsing‑history section behaves as expected. Be sure to compare a private/incognito window (no history) and a regular window (with history).
- Before publishing, check mobile and speed: in the top‑right device switcher of the theme editor, choose Mobile and confirm the scroll length and layout look good. If the page feels heavy, reduce the number of products shown or move the section slightly lower to balance the experience.
Placement tips: getting personalization to actually work
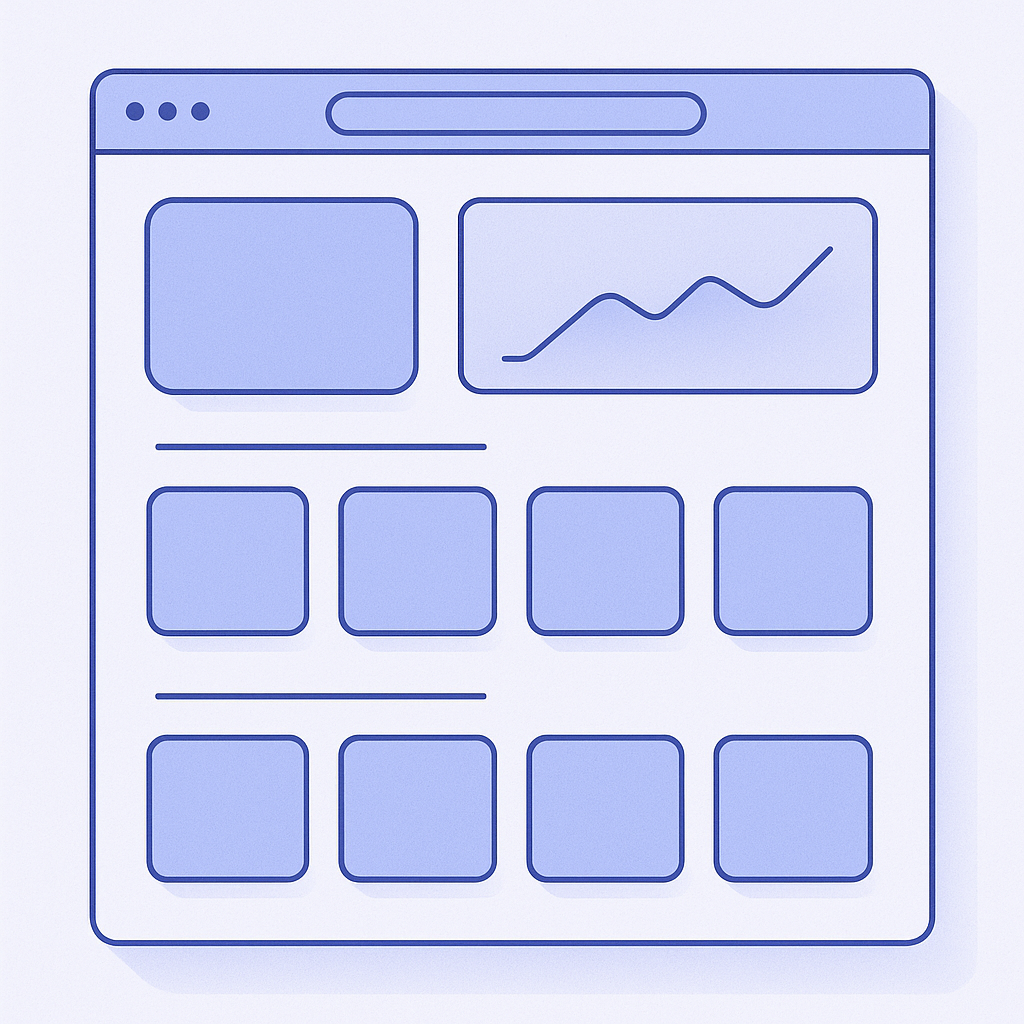
- Place it for both new and returning visitors: browsing history is especially powerful on second and later visits, or after a user has browsed multiple pages. On a first visit, it is often empty. A realistic layout is to keep your hero and brand or hero collection at the top, then place browsing history a little further down, so you serve brand and key offers before history‑based content.
- Use the title and subcopy to clarify what the list is: instead of only showing product cards, combine a title like “Recently viewed items” with a short subtext such as “Jump back to items you checked a moment ago.” This helps users quickly understand what the section does.
- On mobile, ensure the first row or two is visible quickly: optimize for the number of swipes. Place browsing history so it appears within one to two swipes after the first view, making it easy for returning users on smartphones to notice and use it.
- Avoid clashes with other personalized sections: if your homepage has multiple recommendation areas such as Browsing history, AI similar items, and Bestsellers, give each label a distinct role. For example, from top to bottom: “Popular items,” then “Featured categories,” then “Browsing history,” creating a flow from broad → interest‑based → individually personalized.
- Consider exclusion rules for sensitive categories: depending on your product range, there may be items you do not want to surface directly in browsing history. If your recommendation app can exclude specific collections or tags, configure those first so the widget behaves safely out of the box.
Designing fallbacks and wording for empty states and privacy
Some users will have browsing history and some will not. To keep the experience natural in both cases, you need good fallback behavior and carefully chosen copy for empty states.
- When there is no history: fallback to popular or new items. If you only show “No history yet,” the empty space stands out. In most stores, it is more natural to show Bestsellers or New arrivals instead. You can also switch the label to “Popular items” or “New items,” or use a neutral “Recommended for you” label so it never feels off.
- Include “currently viewed items” even for short visits: even if a user has only looked at one or two products, including the item they are currently viewing or just visited helps signal that this is “their” list. If your app has a toggle like “Include current product,” start by turning it on and evaluate from there.
- Use privacy‑aware language: for sensitive products, avoid very direct phrases such as “Your browsing history.” Softer wording like “Recently viewed items” or “Checked items” reduces the sense of being tracked. Simply removing words like “you,” “history,” or “behavior” from labels can significantly change the impression.
- Do not keep history forever: if your app lets you configure how long to store history, tune it to your product type. For fast‑moving goods like consumables or fashion, keep it shorter; for durable or high‑ticket items, slightly longer is fine. Either way, avoid giving the sense that “the past follows you forever.”
- For logged‑in users, consider tying into My Account: in member‑only stores, a future option is to align browsing history in the My Account area with recommendations on the homepage. When you do this, add a short explanation in My Account (for example, “We show products you recently viewed”) so users understand how it works.
Common pitfalls and how to avoid them
- Filling the entire first view with browsing history: because new visitors may see nothing there, avoid putting browsing history above your hero banner or key collections. At minimum, lead with one block that promotes your brand or hero products, then place browsing history beneath it.
- Using labels that are too vague: a label like “Recommended” alone does not explain why those products appear. Labels such as “Recently viewed items” or “Recommendations based on your interests” clarify the reason and can materially improve click‑through rate.
- Skipping tests for the empty state: because your own browser already has history, it is easy to publish without ever seeing the no‑history pattern. Always check how the homepage looks on a first visit using an incognito window or a different browser.
- Letting the section sink to the bottom of the page: if you place browsing history at the very bottom, many users will never scroll that far, and the feature will not do its job. If you have scroll‑tracking tools, check how far users typically scroll and make sure the widget sits within that range.
- Ignoring speed drops or layout issues: multiple recommendation sections and image‑heavy cards can hurt mobile performance. Use tools like PageSpeed Insights regularly, and if needed, reduce the number of items or optimize image sizes to keep the experience smooth.
Next steps if you use RecoBoost
If you are using RecoBoost, you can enhance your homepage browsing‑history recommendations with the following steps.
- Open RecoBoost from Shopify admin: in the admin, go to Apps → RecoBoost.
- Enable a browsing‑history logic in recommendation settings: in RecoBoost, open Recommendation settings and enable Browsing history or Recently viewed items from the list of logics (the exact name may differ by version).
- Add the widget to your homepage: in RecoBoost’s Widget management, create a new widget and set its display logic to Browsing history. Then, in the Shopify theme editor, use Add app block to place that widget on the homepage.
- Configure fallbacks and exclusion rules: in the RecoBoost widget settings, choose what to show when there is no browsing history (for example Bestsellers or New arrivals) and set exclusion rules for collections or tags you do not want to surface.
- Validate labels and placement with A/B tests: use RecoBoost’s analytics to monitor click‑throughs and conversions while you experiment with different titles and section positions. Iterating this way helps you find the best pattern for your store.