Practical Content SEO to Connect Your Shopify Blog and Product Pages
Stop updating your Shopify blog “just because.” This guide shows how to plan content SEO so blog posts actually drive traffic and revenue to product pages, covering themes, structures, internal links, tags, and measurement you can implement right away.
Shopify’s blog feature is a powerful tool for both acquisition and branding, but many merchants say they “keep publishing and it never turns into sales.” In most cases the problem is that the blog and product pages are not designed as a set. This article整理s a concrete way to design your Shopify blog as the starting point for content SEO, and reliably connect it to sales through internal links to product pages. Everything here can be implemented with standard Shopify features and apps.
Conclusion: Design your blog as a “search entry point” and a “pre‑sales warm‑up” to product pages
Here’s the conclusion up front. Your Shopify blog should be designed as an “entry point that’s discovered via keywords,” while also serving as “pre‑sales content that resolves worries and questions before visitors hit the product page.” When you do both, you improve acquisition and sales. The harder you try to sell directly from the blog, the more distance you create with readers and the more half‑baked your internal links tend to become.
For example, users who search for “summer mask skin irritation remedy” are often not ready to see a product list. They first want to know “why does my skin get irritated?” and “how does the material change things?” If your blog answers this need, then adds internal links to a “sensitive skin mask roundup” or individual product pages, people can move to the cart in a very natural flow.
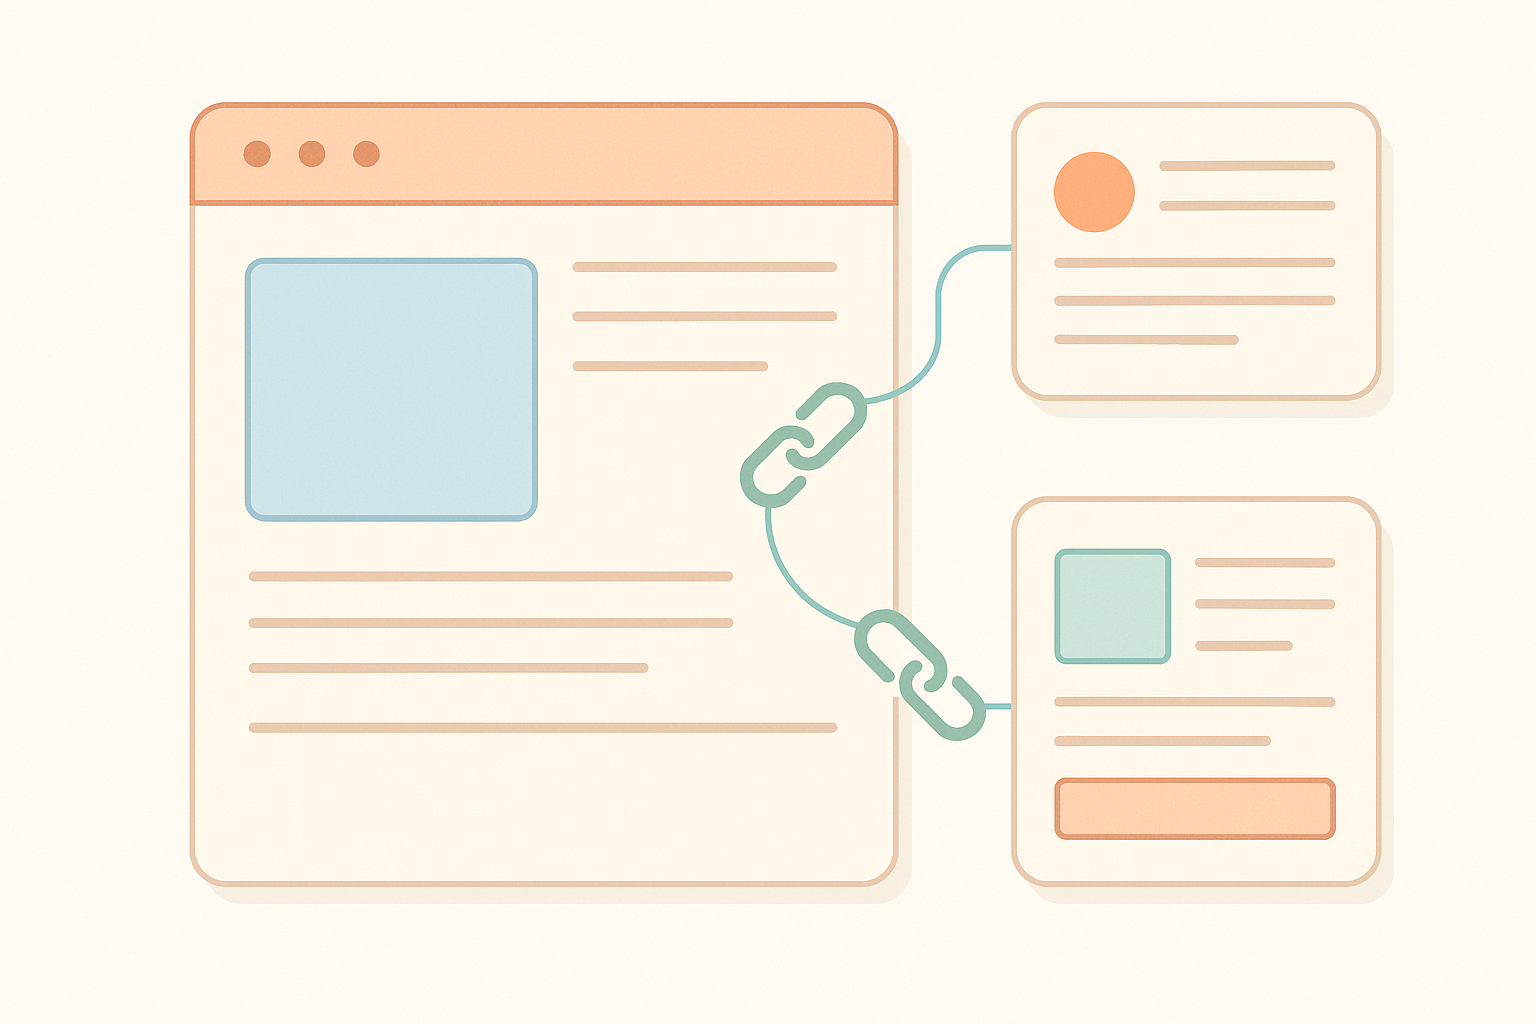
In practice, you design each theme as a set of “one or a few blog posts that capture search demand” plus “related product pages (product detail or collection pages),” then connect them with internal links. The rest of this article walks through具体 steps based on this “set thinking.”
Step 1: Choose a searchable theme before you plan the blog post
The first common failure pattern is “writing blog posts on whatever feels easy to write about.” You end up with mostly store news and casual updates, and almost no new users coming from search. Start by choosing themes that are actually searched.
Even with only free methods, you can collect the exact phrases your customers are already searching for using the approaches below.
- Type your product‑related keywords into the Google search box and check the suggested (autocomplete) queries
- Scroll to the bottom of the search results and review the “related searches” section
- Go through your “frequently asked questions” emails and chat inquiries and extract the questions that keep coming up
- Check your store’s on‑site search query report (via a compatible app or theme feature if available)
For an organic cosmetics store, for instance, you might see “how to choose cleansing,” “sensitive skin sunscreen ingredients,” or “30s skincare routine steps” — all problem‑driven keywords. Instead of trying to compete on product names from the start, set your themes around these problems and use cases.
Once you’ve picked a theme, stick to the rule “one theme = one problem.” Narrow each article down to solving a single issue, such as “how to choose sunscreen for sensitive skin” or “how to build a nighttime skincare routine in your 30s.” That makes search intent clearer and makes it easier to design the path into product pages.
Step 2: Decide in advance where your blog post will connect to products

After you decide on a theme, but before you start writing the body, decide where in the article you will introduce products. If you add product links ad‑hoc as you write, it tends to feel like “pure promotion” and becomes a reason for visitors to drop off.
A practical approach is to fix three “product introduction points” when you outline the article.
- Intro: Along with empathizing with the reader’s problem, briefly mention that “this kind of product can solve it” (either no link yet, or a single link at most)
- In the middle of the explanation: In a section on how to choose or compare options, introduce one to three of your products as examples that meet the conditions you’ve just explained
- Summary: Recap “today’s key points,” then guide readers with lines like “see this product page for detailed ingredients” or “see this special collection for the full lineup”
For example, in an article on “nighttime skincare in your 30s,” after explaining “what to do at each step,” you can add an internal link like “Here’s a ready‑to‑try night care set” to a bundled product page. Structuring it as “explanation → concrete examples (products)” makes it easier to earn clicks on those links.
A frequent mistake is filling the article from top to bottom with nothing but your own products. If you see decent traffic but very short average time on page and a high bounce rate, revisit the balance between “educational content” and “product promotion.”
Step 3: How to place internal links in Shopify blog posts (and what to avoid)
Once the article structure is set, decide exactly where and in what form to place internal links. In Shopify blog posts, you can easily insert links to Products, Collections, and Pages from the rich text editor in the admin, but if you do it the wrong way it becomes confusing for both users and search engines.
There are three practical points to keep in mind:
- Where possible, link to a page thatまとめs that specific problem (in many cases a collection or feature page works better as the first stop than an individual product page)
- Make anchor text descriptive, not just “click here” — for example, “full list of sunscreens for sensitive skin”
- Don’t cram too many links into a single screen (as a rule of thumb, aim for about one to two links per smartphone screen)
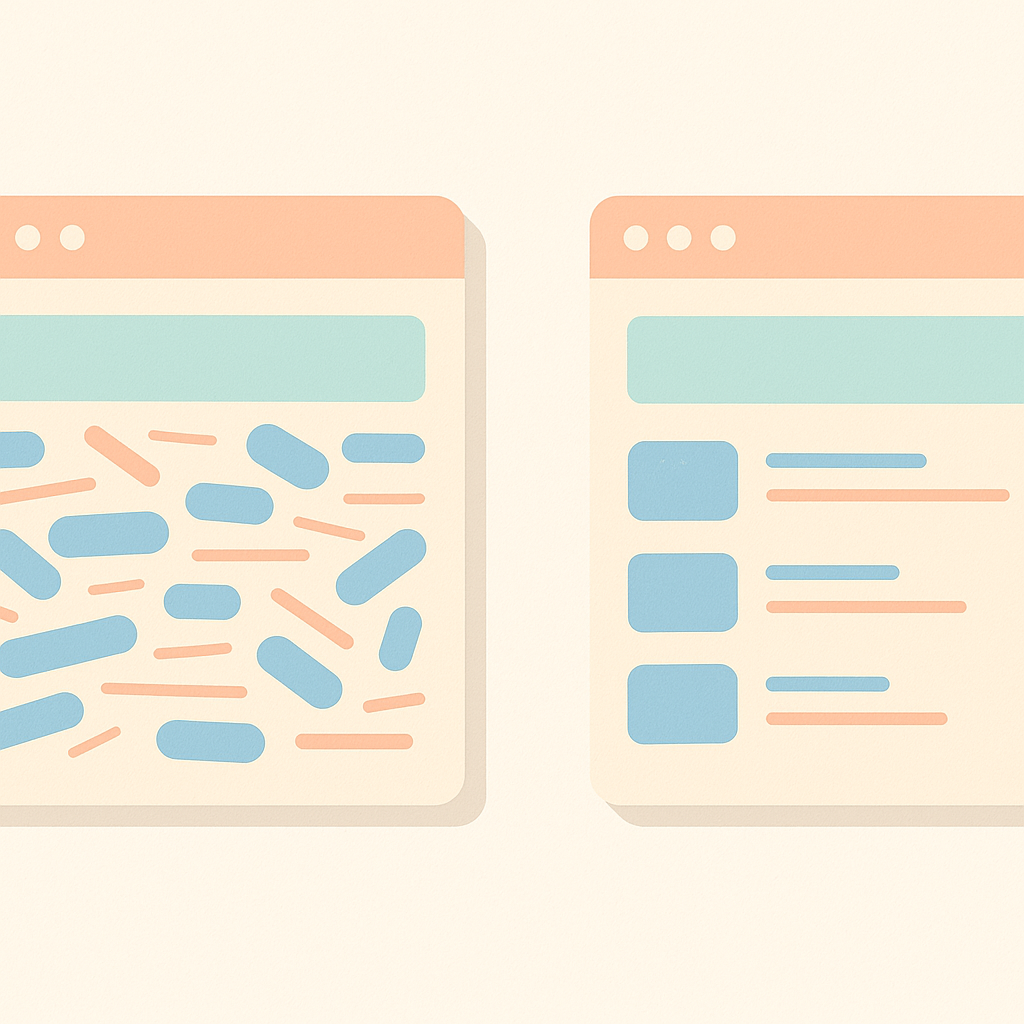
One of the most common bad examples is lining up ten product links in a single row at the very bottom of the article. This leaves users unsure where to start and depresses click‑through rate. Instead, segment by need, such as “recommended for dry‑prone skin” and “recommended if you spend long hours outdoors,” and feature just two to three products within each group.
Internal links between blog posts are also powerful. For example, from “how to choose sunscreen for sensitive skin,” you can link to an article on “how to properly remove sunscreen.” That both increases pages per session and gives you a natural path to promote a different product category (such as cleansing).
Step 4: Use tags and categories so readers can binge‑read and SEO still works
Shopify blogs have two structural elements: “Blogs” (a unit similar to categories) and “Tags.” Both affect your internal link structure, so you should decide on a policy upfront instead of assigning them at random.
Here’s a configuration that keeps operations simple:
- Blogs: Use them as the unit for big categories, such as “How‑to guides,” “Editorial,” or “News.”
- Tags: Organize posts using user‑centric perspectives like concern, use case, or season (for example: sensitive skin, gifts, summer dryness care)
- Whenever possible, apply the same tag to posts that address the same problem or use case, instead of endlessly adding near‑duplicate tags.
Once you accumulate five or more articles with the “sensitive skin” tag, the tag page itself starts functioning as a “resource hub for people with sensitive skin.” If you optimize the tag page body and meta information to match that theme, it can develop into an SEO asset over time.
A typical failure is continuously adding similar tags on a per‑article basis so they fragment into things like “sensitive skin,” “sensitive skin care,” and “sensitive skin solutions.” Too many tags make life harder for both users and admins. Use the rule of thumb “can someone understand one complete problem just by reading this tag page?” as your整理 criterion.
Step 5: Minimum metrics to track and how to run an improvement cycle
Content SEO will not show成果 if you “publish and forget.” By combining Shopify with external tools and tracking just a few key metrics, you can see which articles deserve more effort.
With tools like Google Analytics and Search Console you can monitor metrics such as:
- Which blog posts are receiving traffic from search (landing pages)
- From each of those posts, which pages (products or collections) visitors go to next
- Time on page and bounce rate for each blog article
- Search queries (the actual keywords users typed to arrive)
For example, if an article gets 1,000 sessions a month but almost no traffic flows from it to product pages, you can assume the “path to products” is weak. In that case, adding use‑case‑based product recommendations mid‑article or improving the wording of links in the summary can sometimes change click‑through rates.
On the other hand, even articles with low traffic may deserve priority rewrites if they “convert well” or “serve as an entry point to a specific high‑ticket product.” The key when looking at the numbers is to understand “which article leads to which products” and then strengthen the paths that actually drive results.
How to use RecoBoost here: let automated recommendations handle the “next step” after reading
If you layer RecoBoost on top of the blog–product page structure you’ve designed so far, you can automate that final nudge after someone finishes reading. Concretely, you place a RecoBoost widget below or beside the article, and let the AI show “popular products among people who read this article” or “other articles often read together with this one.” You no longer need to manually update “recommended products” on each post, and as long as you’ve set a clear internal linking policy, the recommendations will optimize themselves based on traffic patterns. This operating style is well‑suited for stores that want to fully leverage their search traffic and naturally guide visitors on to product pages or other articles.
To make your Shopify blog the starting point for content SEO, focusing on just three things already changes the outcome: “choose themes that are actually searched,” “structure posts as a pre‑sales warm‑up for product pages,” and “use internal links and tags to map out navigation paths.” Start with just one theme, design the blog posts and product pages as a set, and include internal links and basic measurement in the loop. Once you find a pattern that works, roll it out to other themes, and you’ll gradually build a stronger foundation for acquisition and sales across your entire store.