
How to Correctly Track Google Shopping Conversions in Shopify
To judge Google Shopping performance in Shopify correctly, you first need a clear plan for where and how to place Google conversion tags. This guide lays out the recommended structure, concrete setup steps, common mistakes, and how to validate your tracking.
If you want to improve your Google Shopping performance, the very first thing you need is accurate tracking. When your tracking is off, every decision on bids or product optimization is based on the wrong data. Once your ad spend reaches hundreds of thousands of yen a month, even a 10–20% error in conversion count can completely change your decisions. Shopify does a decent amount of tracking out of the box, but unless you set things up properly for Google Shopping, double counting and missed conversions are quite common. This article lays out concrete steps to correctly track Google Shopping conversions in Shopify, while keeping jargon to a minimum. The key is to consolidate to a single Google tag and correctly connect Shopify’s standard purchase events with your Google Ads conversions. Let’s walk through it step by step.
Why accurate tracking is critical for Google Shopping
Google Shopping relies heavily on machine‑learning‑based automated bidding. In other words, Google adjusts bids automatically based on historical data like which products generated what profit from which search queries. The raw data behind that is your conversion tracking. If this is wrong, Google learns the wrong lesson. For example, if you actually received 10 orders but only 5 conversions were tracked, Google may decide “this campaign performs poorly” and lower bids. On the flip side, if a single order is counted twice, that campaign can be over‑valued and you might only notice after your CPA has worsened.
When you run Google Shopping alongside other channels such as remarketing or display ads, you also need a consistent conversion definition so you can compare which channel is really driving revenue. With Shopify in particular, you often end up with slightly different numbers for “orders in Shopify,” “conversions in Google Ads,” and “purchases in Google Analytics.” A small gap is acceptable, but if you keep seeing differences greater than about 10%, assume there is a missing or duplicated setting somewhere in the chain.
If you want to analyze LTV (lifetime value) to see which campaigns bring in customers who go on to repeat purchase, accurate tracking of the first purchase is also a prerequisite. When initial conversions are missing, no amount of CRM work later will let you properly tie results back to the original ad initiatives.
Understand the types of Google‑related tags you can use in Shopify
First, clarify which tags you will actually use. For Google Shopping tracking in Shopify, there are three main pieces. The first is the Google tag (formerly the global site tag). This is the base tag used by Google Ads and Google Analytics and is normally installed once across all pages. The second is Google Ads conversion events. These define specific actions, such as a purchase, that should be counted as conversions. The third is the Google channel (Shopify app). This is the official app that connects Shopify with Google Merchant Center and Google Ads, and it can automate part of your tag setup.
The critical rule is: do not install multiple Google tags. For example, if you hard‑code a Google tag in the theme and also add another via Shopify customer events or an app, page views and conversions can easily be double‑counted. A common failure mode in day‑to‑day operations is that every time the person in charge changes, a new agency or developer adds tags in a different way, and nobody knows which one is the real source of truth. A good approach is to first audit where Google tags are currently installed and then decide, “from now on we will use this single tag as the official one.”
There are several ways to manage your Google tag: use Shopify’s customer events feature, hard‑code it into the theme, or fire it via Google Tag Manager. Any of these can track conversions, but for easier long‑term operations—including future expansion and handovers between team members—it is important to pick one approach and standardize on it.
Install exactly one Google tag in Shopify, the right way
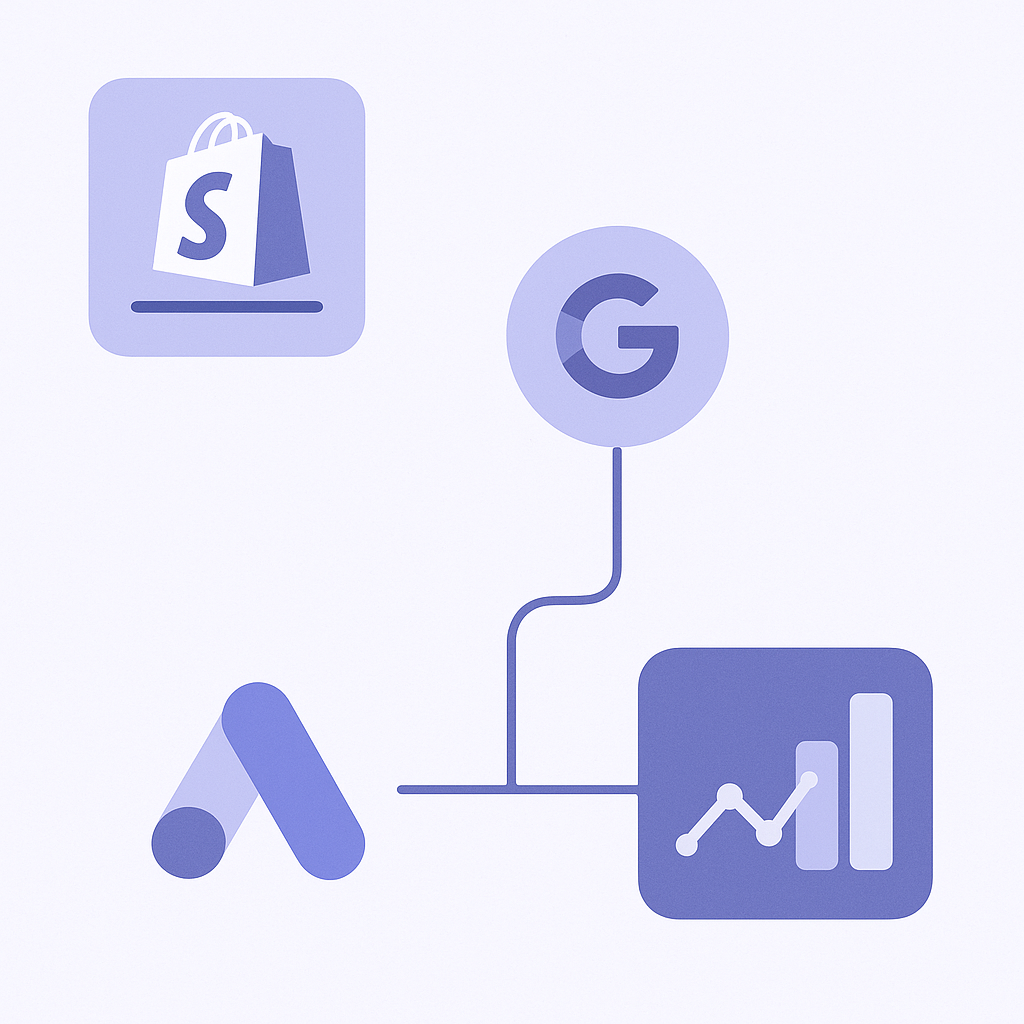
Next, decide concretely how you will place the Google tag in Shopify. The key points are: fire it on every page, ensure it runs on the order confirmation page, and minimize direct code edits. In the latest Shopify setup, you can add the Google tag via Settings > Customer events. Obtain your measurement ID or tag ID following Google’s instructions, register it in customer events, and Shopify will handle firing the tag, including on the order confirmation page. If you use this method, make sure that the theme files (such as theme.liquid) do not also contain a hard‑coded Google tag, and delete any you find.
If you are already using Google Tag Manager to manage multiple tags, it may be cleaner to install only the Google Tag Manager container code in Shopify and then fire the Google tag from within that container. Even in this setup, be careful not to create a double structure such as “Google tag in customer events and Tag Manager in the theme.” Whichever structure you choose, document clearly within your team which Google tag is the one actually in use, and store that along with admin access details for the ad accounts to avoid issues when responsibilities change.
A frequent pitfall here is that tracking works during test orders but stops working when you switch to a different real payment method. Because Shopify’s thank‑you page behavior can vary by payment method, run test orders for all major methods—credit card, Shop Pay, and any other payment apps—and confirm in the event reports that the Google tag is firing correctly for each pattern.
Align your Google Ads conversion action with “purchase”
Once you have consolidated to a single Google tag, use that tag to set up a “purchase” conversion action in Google Ads. In the Google Ads interface, create a new conversion and, for website actions, choose “purchase” (or an equivalent). The crucial point is to match the event name and trigger that Shopify actually sends with what you configure in Google Ads. For example, if Shopify is sending a purchase event named purchase, configure Google Ads to track that exact event.
You also need a clear rule upfront for whether to count conversions as “every” or “one.” If one order can include multiple products but you want to treat each order as a single conversion, choose “one.” If you care about the number of times a specific action occurs, use “every,” but for measuring purchase performance from Google Shopping, “one” will be more practical for most stores.
How you handle conversion value (revenue) also matters. If Shopify is sending the order value to Google, set Google Ads to “use different values for each conversion,” and Shopping’s automated bidding can more easily optimize toward ROAS. If you are not passing values, you can set a fixed amount, but in stores with a mix of high‑ and low‑priced items, that will not reflect differences between sold products, so you should plan to implement value passing in the future.
Checklist to prevent duplicate or missing conversions
After completing your setup, verify that each purchase is tracked once—no more, no less. First, roughly compare the number of Shopify orders and Google Ads conversions over the same period. They do not have to match exactly, but if the discrepancy is large, start narrowing down the cause. Typical causes include: multiple Google tags or legacy conversion tags still active and causing double counting; tags on the confirmation page not firing for certain payment methods or devices; and bot traffic or test traffic being counted as conversions.
In the Google Ads “Conversions” report, check the counts for each conversion action and make sure there are no suspicious actions left enabled. For example, an old test conversion or an unnecessary action set up by a past agency might still be marked as “Include in ‘Conversions.’” If so, it pollutes Shopping campaign learning. Disable anything unnecessary and leave only the purchase conversion you actually want to optimize for in an active state.
It also helps to run through the purchase flow as a test, record the order number, and note when the conversion appears in Google Ads. Later, if problems arise, this becomes useful troubleshooting data. For instance, if 8 out of 10 test orders are tracked but subscription payments alone are missing, you can then focus on how the relevant app handles redirects and the thank‑you page and investigate from there.
How to leverage this with RecoBoost
Once Google Shopping conversion tracking is stable, you get a much clearer view of how much each product sells via ads. RecoBoost uses this actual sales data to fine‑tune on‑site product recommendations so you can control exactly what visitors coming from ads see in your store. For example, you can recommend the top‑selling entry products from Shopping together with related items that are frequently bought afterward, or prioritize products with high first‑purchase conversion rates for new customers from Google Shopping. A good sequence is to first solidify your conversion tracking foundation using the steps in this article, then use RecoBoost to optimize on‑site browsing and upsell behavior.
To correctly track Google Shopping conversions in Shopify, start by consolidating down to a single Google tag and aligning the “purchase” definition between Shopify and Google Ads. Then run payment‑method‑specific tests and checks for double counting, and maintain a state where Shopify order counts do not diverge significantly from Google Ads conversions. This is what allows Shopping’s automated bidding to perform properly. Treat tracking not as a one‑time setup but as something you revisit whenever you add apps or change themes, and build those reviews into your operating process.