5 practical rules for designing effective related product blocks
If your Shopify product page’s related products get few clicks or unclear sales impact, you likely need clearer design rules. This post breaks down placement, number of items, logic, labels, and measurement into concrete, ready‑to-apply criteria.
Many merchants say their related products block on the product page gets few clicks, or they cannot tell if it’s driving any revenue. The reality is that “just throwing it on the page” almost never works. But if you design it around five core principles, the related products block can become a strong driver of higher average order value. This article breaks the block down into placement, number of items, logic, label, and measurement on Shopify product pages, to a level you can apply directly in day-to-day operations. To make it something you can test in a live store as early as tomorrow, it also includes concrete criteria and common failure patterns.
Rule 1: Place related products not too low, not too high

The performance of your related products block changes dramatically depending on where you place it. If it sits far below the product description, users may never scroll that far and click-through rates drop sharply. On the other hand, if you put it right under the main product images, you risk distracting visitors before they read the core product information and lowering the all-important add-to-cart rate. Related products are supporting content, so they should not get in the way of the main product information, which is the hero.
In practice, the best placement is right after the product description plus essential details such as size and materials. Use mobile as your reference: aim for a position that is inevitably seen within one to two scrolls. In contrast, if you place it below reviews or just above the footer, the number of times the block is actually seen will stay low relative to product page views. In one store, simply moving the related products block from the very bottom of the page to right after the product description nearly doubled its click-through rate and visibly increased revenue generated via that block.
Also remember that layouts look very different on desktop and mobile. On desktop you may be tempted to show related products in a tall right-hand column, but you must check how that layout wraps and orders on mobile. Common mistakes include related products appearing above reviews on mobile, or cutting the product description in an odd place. Always decide the final position with a mobile-first mindset, using your theme’s customization screen and preview tools to verify the mobile layout.
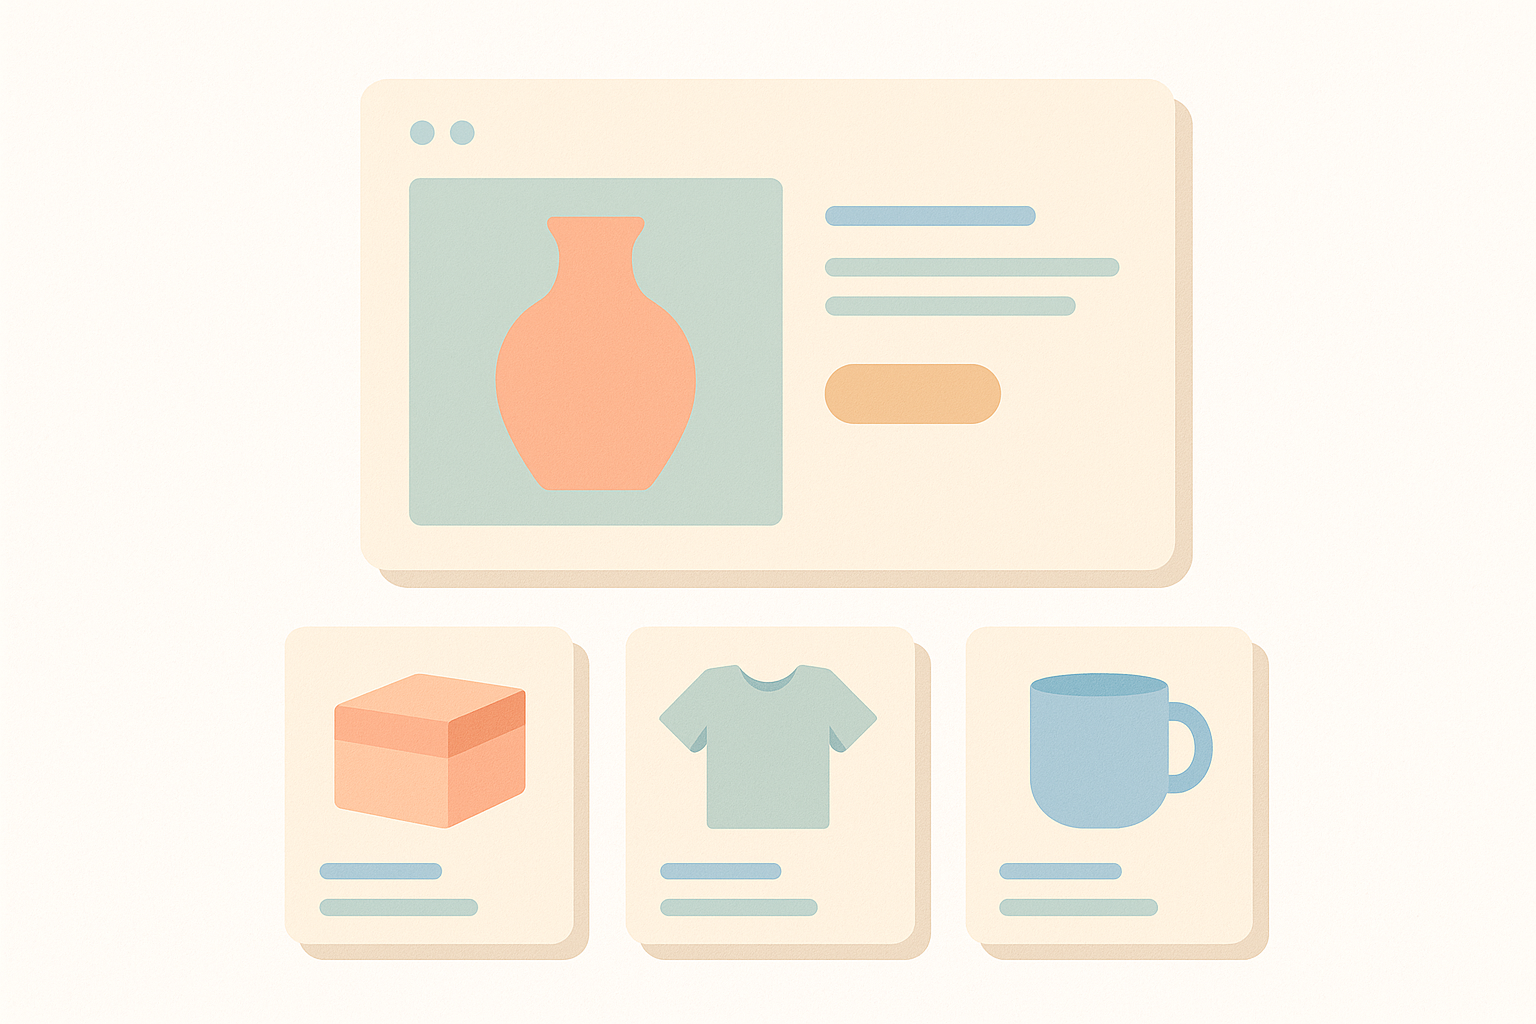
Rule 2: Limit each block to 4–8 products
It is easy to assume that “showing more items will sell more,” but overloading the block actually lowers click-through rate per product. Too many choices make it harder for people to pick anything. Once you line up 10 or more items in one go, users tend to just glance over the list and move on without engaging.
Operationally, it is best to design each related products block so that desktop shows 4–8 items, and mobile shows 2–4 items per screen. Even if you use a horizontal slider, keep the number of initially visible items to around four and let users swipe to see more. In many stores, tests comparing 4-item and 8-item displays show only minor differences in click-through, while pushing beyond 8 items often leads to a clear plateau or drop in CTR.
One more thing to watch: do not pack the block with near-duplicates. For example, a block of eight almost identical T-shirts in different colors often performs worse than a curated four to six items such as similar-style tops, matching bottoms, and a few accessories. That kind of mix tends to produce higher click-through and add-to-cart rates per item. Think of the block not as a mini catalog, but as a short, filtered list that narrows options for the current visitor.
Rule 3: Separate “extended interest” from “add-on buys” in your logic
If the contents of your related products block are just “other items from the same collection,” performance will quickly hit a ceiling. The block actually serves two distinct roles: extended interest (alternatives and comparisons) and add-on buys (sets and accessories). Rather than mixing these, decide explicitly which role each block is meant to play and design the recommendation logic accordingly. That way, the block lines up more naturally with how users behave.
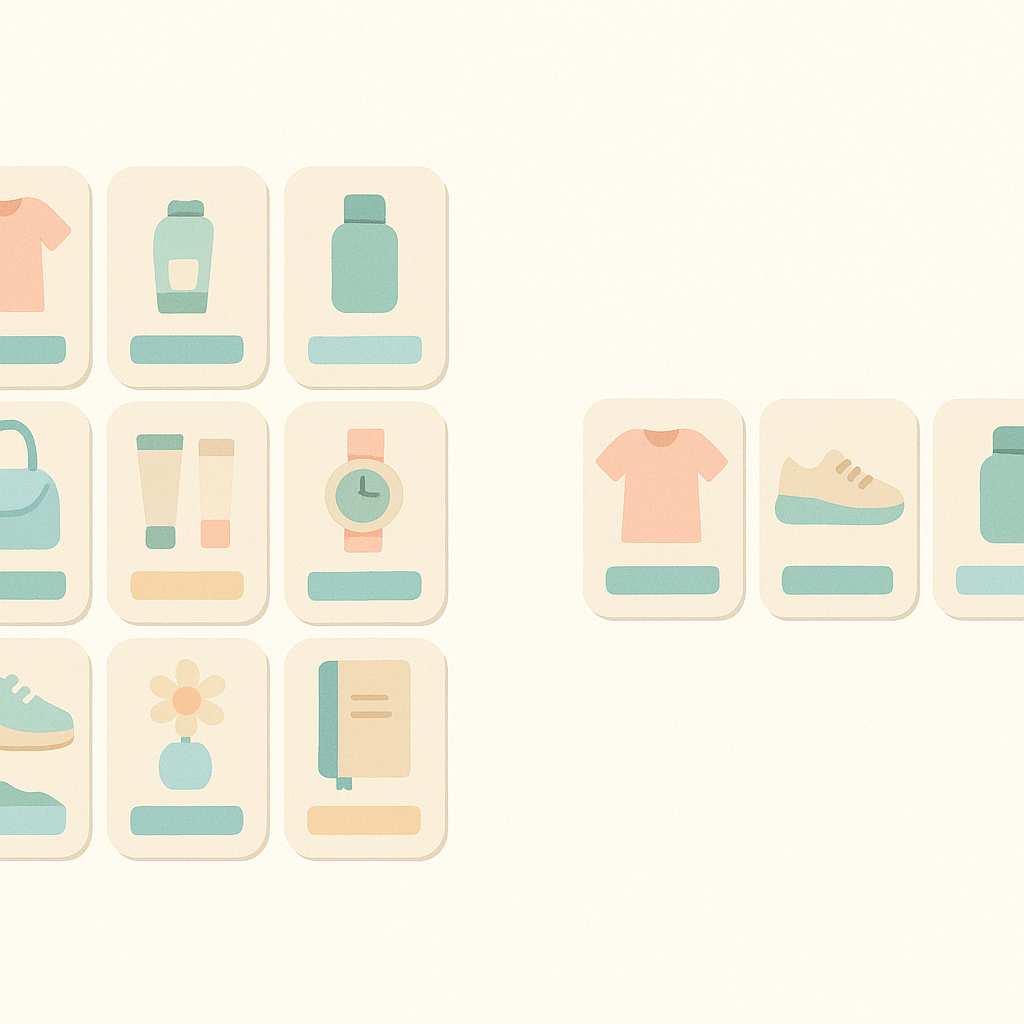
When you are targeting extended interest, the default is to show items from the same category, at a similar price point and with a similar style. For instance, on a product page for black sneakers, you would prioritize products from the same brand and the same category (sneakers) with no major price gap. In this case, if you include out-of-stock items or items with many missing sizes, you end up with a list that gets clicks but cannot convert. Always include stock status in your conditions.
When you are targeting add-on buys, define rule-based “works well together” items. For a camera, that might be memory cards, straps, and lens filters. For a dress, that could be belts, cardigans, and jewelry. If you have data on items frequently bought together, prioritize that. Where you lack enough data for certain categories, it is more realistic to start with hand-picked recommendations configured manually. A common failure is to mix extended interest and add-on buys in a single block, leaving users unsure what they are looking at. You will generally get better results by splitting these two recommendation types into separate blocks.
Rule 4: Use labels and UI to explain what list this is
Even with identical recommendation logic, click-through changes depending on whether visitors understand why items are being shown. A vague label like “Recommended items” often feels unrelated and gets ignored. Based on the logic you decided in Rule 3, adjust the label text so the intent of the list is clear.
For comparison-focused blocks, phrases that reference other users’ behavior work well, such as “Others are viewing these” or “Popular with people viewing this product.” For blocks meant to encourage set purchases, use labels like “Frequently bought together” or “Items that work well with this product,” which make the relationship to the current product obvious. Simply changing the label can easily move click-through rates by several percentage points.
On the UI side, in addition to price, product name, and thumbnail, it helps if you can briefly signal that variants and stock are available. If you line up only products with many complex variants, users may feel “this looks hard to choose” and drop off, so mixing in items that are simple to choose can improve engagement. Some desktop themes let you show Quick View or Add to Cart buttons on hover, but on mobile you should avoid adding too many tap steps. In most cases, routing to the product detail page as the main action keeps the experience less frustrating.
Rule 5: Measure impact using click-through rate and revenue via the block
You cannot just set up a related products block and forget about it. You need to keep improving it based on numbers. The key here is not to look only at impressions. Impressions alone do not generate revenue if nobody clicks. At minimum, track two metrics: click-through rate and revenue via related products (or, alternatively, add-to-cart count via related products).
Click-through rate is calculated as clicks on related products divided by the number of times the block was shown. For example, if the related block was displayed 1,000 times in a week and got 80 clicks, CTR is 8%. When you change placement, labels, or item count, watch how this figure moves. If a change clearly lowers CTR, it is easier to justify rolling it back and trying another idea.
Ideally, revenue via related products means the total value of items that were clicked from the related block and then purchased in the same session. If you cannot track this in detail, you can at least monitor the ratio between clicks from the block and add-to-cart actions on those items. For instance, if 5 out of 100 clicks lead to an add-to-cart, the add-to-cart rate is 5%. Comparing this across different recommendation logics will show you whether extended interest or add-on buys work better for your store. The ideal way to operate is to review the numbers and make small tweaks every three to four weeks.
To sum up, getting results from a related products block means designing placement, number of items, logic, labels, and evaluation as a complete set. Place the block right after the product description, limit it to 4–8 items, and separate extended interest from add-on buys when designing logic and labels. Then regularly check click-through rate and revenue via the block, and use those numbers to keep tuning. Over time, you will discover the optimal related products design for your store. Moving away from vague “recommended” lists toward intentional recommendations is one of the fastest ways to lift the profitability of your product pages.
How to apply these rules with RecoBoost
With RecoBoost, you can place separate related product widgets for extended interest and add-on buys on Shopify product pages. Because you can control placement, number of items, and label text per block, you can translate all five principles from this article directly into your settings. You can also view metrics like impressions, clicks, and revenue for each widget, making it easy to compare test results such as “after changing the label” or “after increasing items from 4 to 8.” Without making major changes to your existing theme, RecoBoost lets operators iteratively adjust placement and logic themselves while they search for the optimal related products block.